
Your heart sinks when you see it. Wet cannabis sitting there, looking ruined. Maybe you spilled water on your stash or left a jar open in humid weather.
I’ve been there. After years of handling cannabis, I’ve rescued wet weed more times than I can count. Each disaster taught me something new about fast, safe drying.
Here’s the truth: most wet weed can be saved if you act quickly and avoid common mistakes.
This guide will solve your wet weed problem. You’ll learn proven methods I’ve tested – from emergency air drying to container tricks that work in hours, not days.
We’ll cover when to save versus toss, how to preserve cannabinoids, and simple steps that work without fancy equipment.
Your wet cannabis doesn’t have to become expensive compost. Let’s get it dried properly.
Why Drying Wet Weed Properly Matters.
Time isn’t on your side when weed gets wet. Mold starts growing within 24-48 hours. I’ve seen good buds turn fuzzy and gray in two days. Never smoke moldy weed – it causes severe coughing and lung problems.
Moisture destroys potency fast. THC converts to weaker compounds, and terpenes evaporate. Wet weed loses 30-50% potency in days.
Fresh harvest moisture is protected inside the plant. Accidentally wet weed gets saturated everywhere, making it completely vulnerable.
Wet weed won’t stay lit, burns harsh, tastes terrible. When a quarter-ounce gets ruined, that’s $60-100+ gone. Proper drying saves thousands in ruined stashes.
Immediate Emergency Steps (First 30 Minutes)
The first 30 minutes determine everything.
I can’t tell you how many times I’ve seen people panic and make wet weed worse. Stay calm and follow these steps exactly.
1. Initial Assessment and Damage Control

Quick visual inspection catches mold early.
Look closely before touching anything. Check for white fuzzy spots, gray dusty patches, black spots, or slimy areas. If you see these signs, stop immediately. The weed is compromised and risky.
If it looks clean, proceed carefully.
Use clean paper towels to gently blot surface water. Pat, don’t rub. Think of drying a delicate flower because that’s exactly what you’re doing. Press lightly and let the paper absorb moisture instead of wiping it around.
It handles like glass because potency-wise, it is.
Abandon if you see visible mold, sliminess, foul smells, or complete saturation. Attempt rescue only with surface moisture, cannabis smell, no contamination, and recent exposure.
2. Critical First Actions
Separate buds immediately into a single layer. Wet buds stuck together create mold pockets. Spread every piece out with space between each one on a clean plate, tray, or mesh screen. Make sure no buds touch.
Remove from wet environments fast. Get them out of wet jars or surfaces immediately. Every second of wetness makes things worse.
Assess the moisture level first. Soaked means dripping water, damp means wet but not dripping, humid means slightly moist. Each needs a different approach.
Start airflow within the first hour. Set up a small fan creating circulation, not pointed directly at buds. Open windows if the weather permits. Moving air prevents mold conditions from developing.
3. What NOT to Do in Panic Mode

Never use direct heat like ovens, hair dryers, or microwaves. Heat destroys THC, terpenes, and flavor in minutes. I’ve seen people panic and ruin perfectly salvageable weed this way.
Avoid direct sunlight, too. UV light degrades cannabinoids fast and creates uneven heating that cooks some parts while leaving others wet.
Don’t pile wet buds together. This creates perfect mold conditions. Wet cannabis plus no airflow equals guaranteed mold growth.
Never seal in containers while wet. Sealed wet cannabis molds within hours, no exceptions. Leave everything open to air until completely dry.
These first 30 minutes determine success or failure for your entire rescue operation.
Fast Drying Methods That Preserve Quality
These methods save your weed without destroying what makes it good.
I’ve tested every technique below. Some work better than others, depending on how wet your cannabis is.
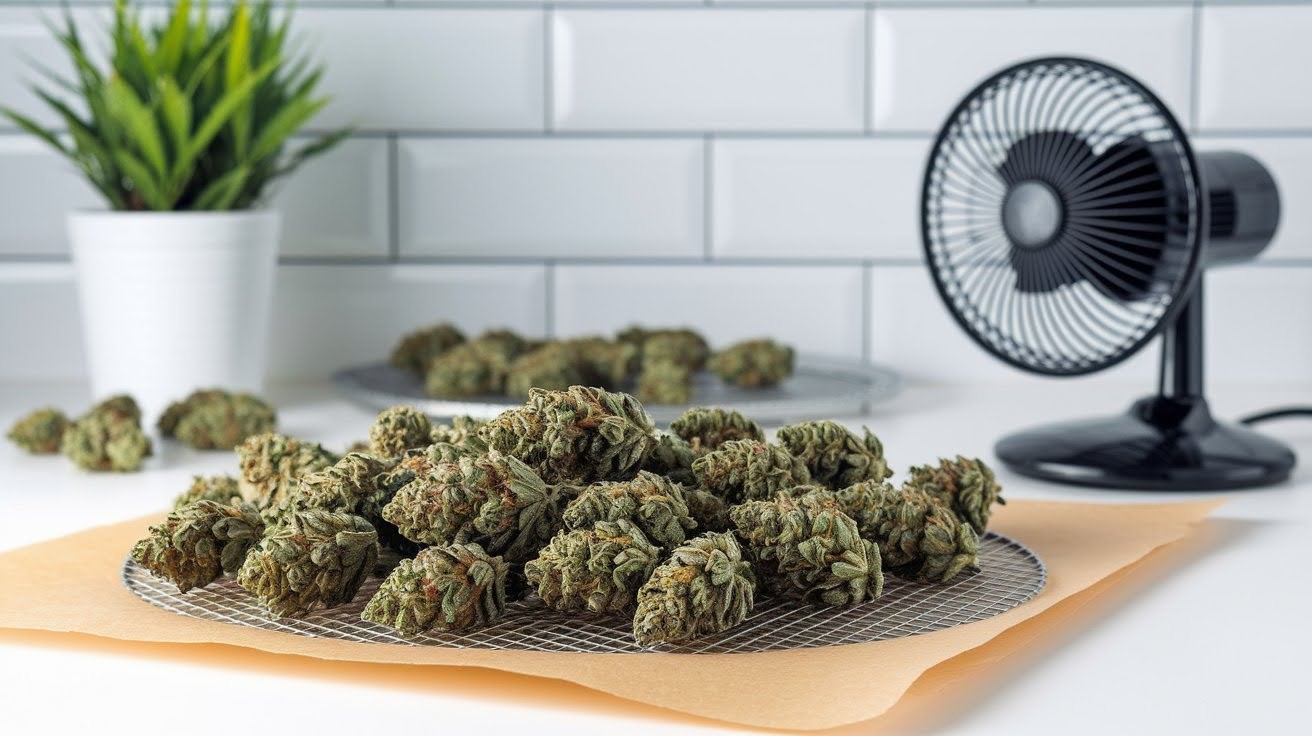
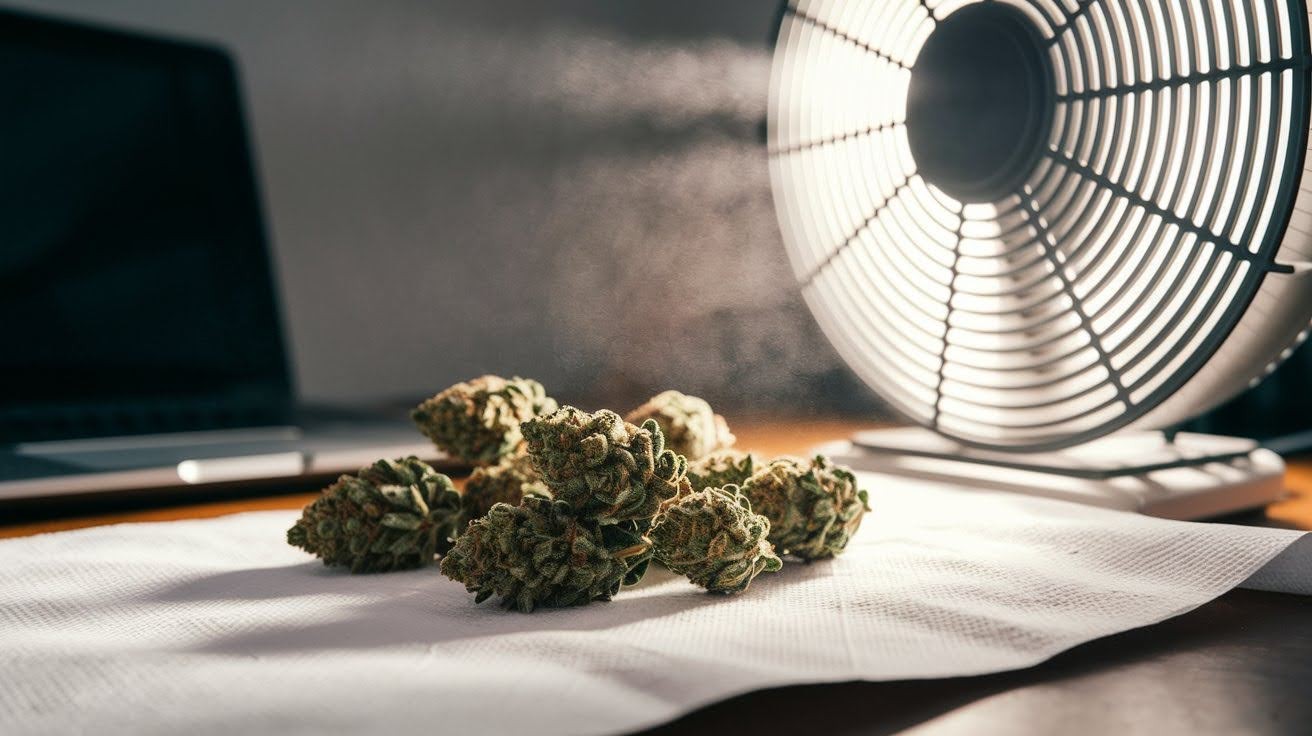
4. Air Drying with Enhanced Circulation
Set up in a clean, ventilated area with indirect light. Find a clean room away from windows. You want air movement, not sunlight. Spare bedrooms or closets with good airflow work perfectly.
Place fans nearby but never directly on buds. I use a small fan across the room for gentle circulation. Direct airflow dries outside too fast while leaving the insides wet.
The timeline depends on the moisture level. Lightly damp takes 3-4 days, moderately wet needs 5-6 days, and very wet requires 7+ days.
Keep the room temperature around 65-70°F. Higher temperatures destroy terpenes and cannabinoids. Maintain 45-55% humidity if possible. Higher humidity risks mold, and lower humidity makes weed harsh.
5. Paper Bag Method for Controlled Drying
Best for damp but not soaking wet cannabis. This method slows drying enough to preserve quality. Use when the weed is wet but not dripping.
Use regular grocery store brown bags. Punch 8-10 small holes in the sides with a pen for air exchange, not huge holes.
Add a loosely crumpled paper towel inside. This absorbs excess moisture and prevents buds from sticking together.
Place buds loosely avoid overcrowding. Leave plenty of space for air circulation. Overcrowded bags create mold pockets.
Timeline is 3-5 days with daily checking. Shake the bag gently and check for mold every day. Remove any questionable buds immediately to prevent contamination spread.
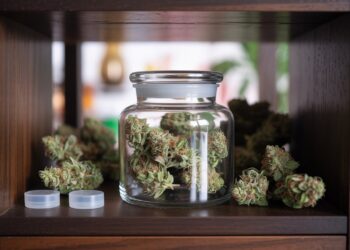
6. Rice Jar Absorption Method
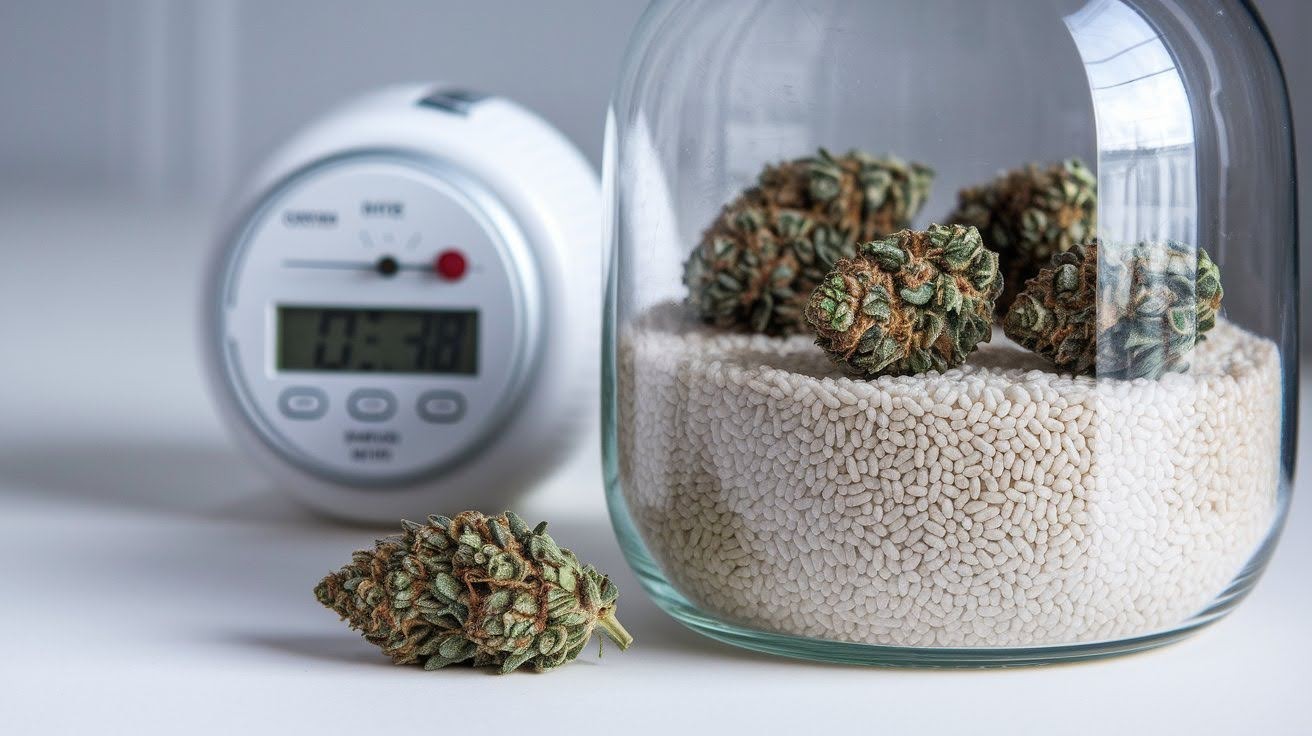
Fast moisture removal using uncooked rice works like a wet phone trick. Use a clean, dry container with a loose-fitting lid.
Mason jars or plastic containers work perfectly. The lid should be loose or partially open for moisture escape.
Layer 2-3 inches of dry, uncooked rice on the bottom. White rice works best because it’s most absorbent. Place parchment paper over rice to prevent direct contact with cannabis.
Add wet cannabis on top of the barrier. The timeline is 24-72 hours for significant moisture reduction. Check every 12 hours on the first day. Rice pulls moisture out fast, so don’t leave it too long or you’ll over-dry your cannabis.
7. Dehumidifier-Assisted Drying
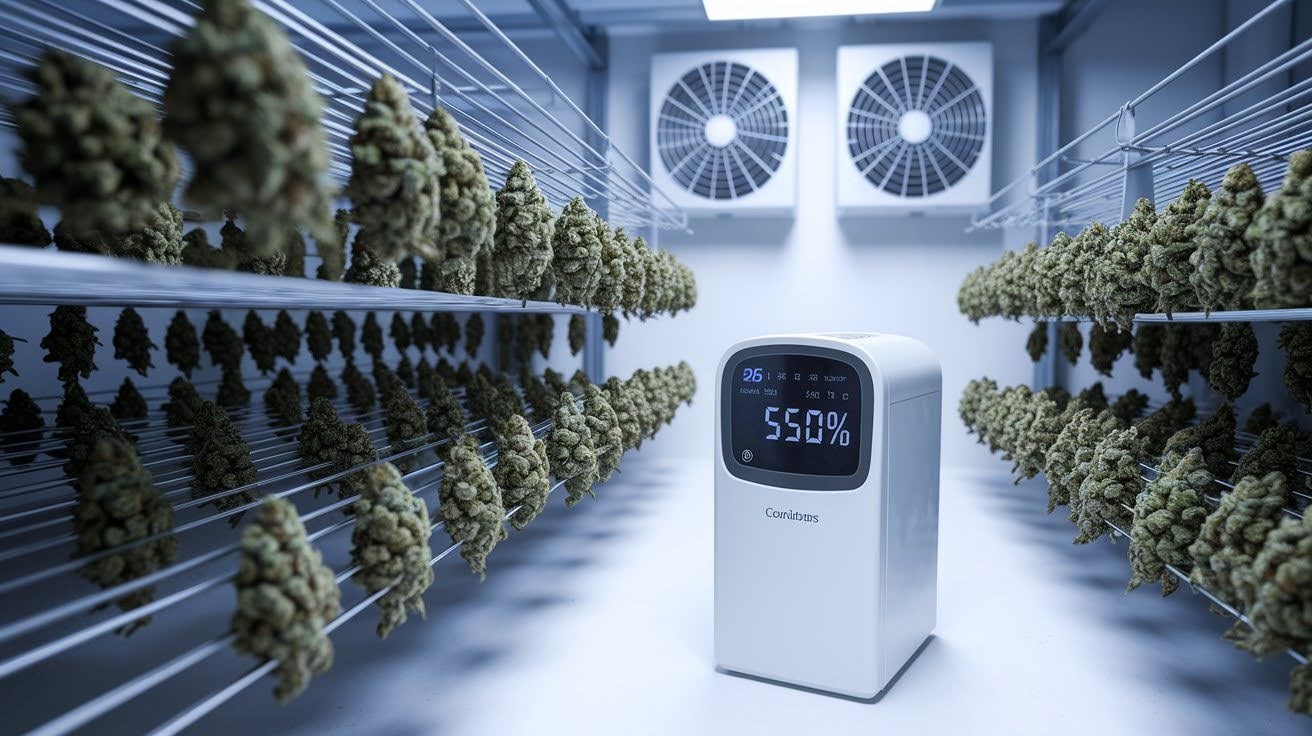
Room-based approach using a dehumidifier. This speeds up air drying significantly.
Container with holes for enhanced air circulation. I use plastic containers with holes punched in the sides. Place them in the same room as the dehumidifier.
Timeline: 2-4 days, depending on moisture level. Combines air drying with active moisture removal
The dehumidifier pulls moisture from the air while natural airflow dries the cannabis. Best of both worlds. Monitor humidity levels if possible. I aim for 45-50% room humidity during this process.
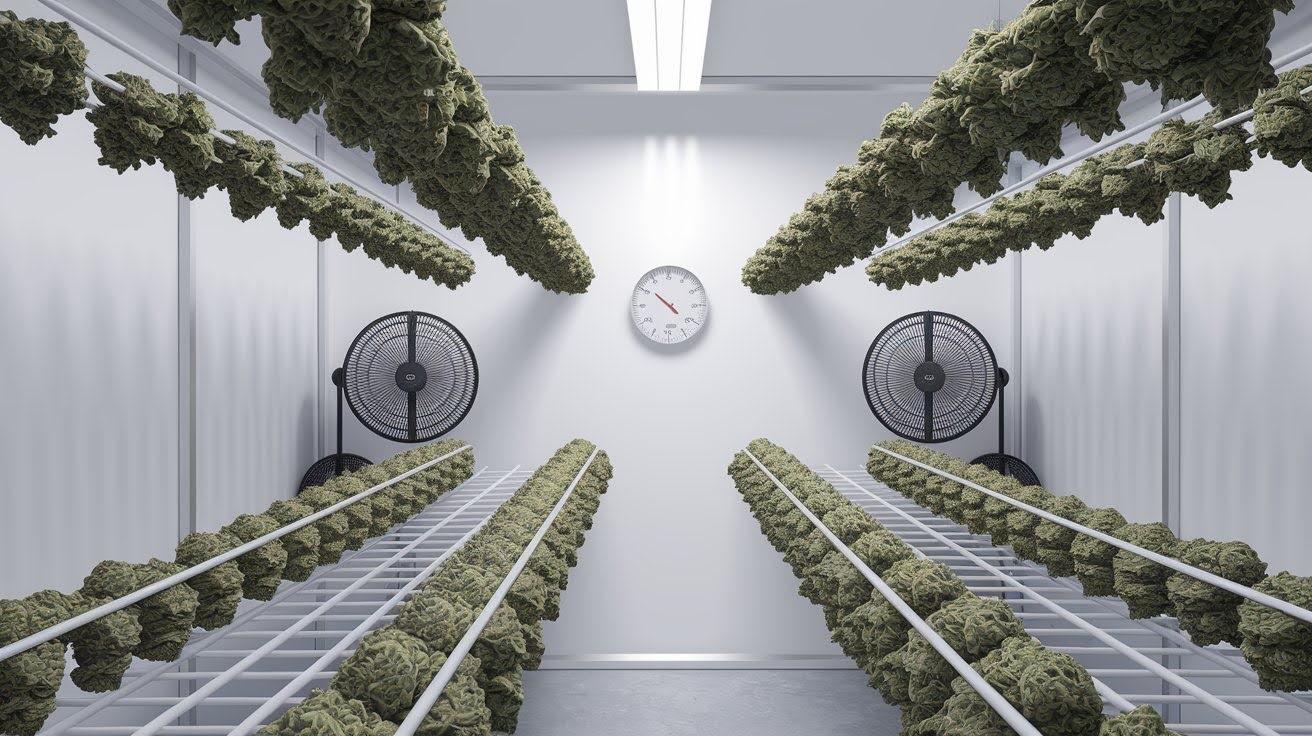
8. Optimal Air Drying Environment

Use well-ventilated rooms away from direct sunlight. Rooms with ceiling fans or good natural airflow work best. Basements are fine if not too humid. Avoid bathrooms, kitchens, or anywhere steam builds up.
Maintain a stable temperature between 60-70°F. Consistency matters more than exact temperature. Fluctuating temperatures create condensation, exactly what we’re avoiding.
Use clean surfaces like mesh screens or parchment paper. Never use newspaper or paper towels – they stick to wet cannabis.
Check every few hours for the first 24 hours. Look for mold signs and assess progress every 2-3 hours initially, then twice daily.
Turn buds regularly for even drying. Handle like delicate flowers and adjust airflow based on drying speed.
Advanced Fast Drying Techniques
When you need results faster than standard methods allow.
These techniques push the boundaries while still preserving most quality. Use them only when time is critical.
9. Computer Fan Method for Small Amounts
Laptop fan utilization provides perfect low-level heat. I discovered this accidentally when wet buds were left near my gaming laptop. The combination of warm air and gentle circulation works surprisingly well.
Set up on paper towels near warm air vents. Find where your laptop expels air, usually from the sides or back. Place clean paper towels in front of vents and spread small buds on top.
Timeline is 1-2 hours for small, lightly wet amounts only. This works for a few grams maximum. Larger amounts won’t dry evenly.
Turn buds every 10 minutes with tweezers. Set a timer and stick to it. The gentle heat preserves terpenes while moving moisture out quickly.
10. Boiler Room Conversion Method
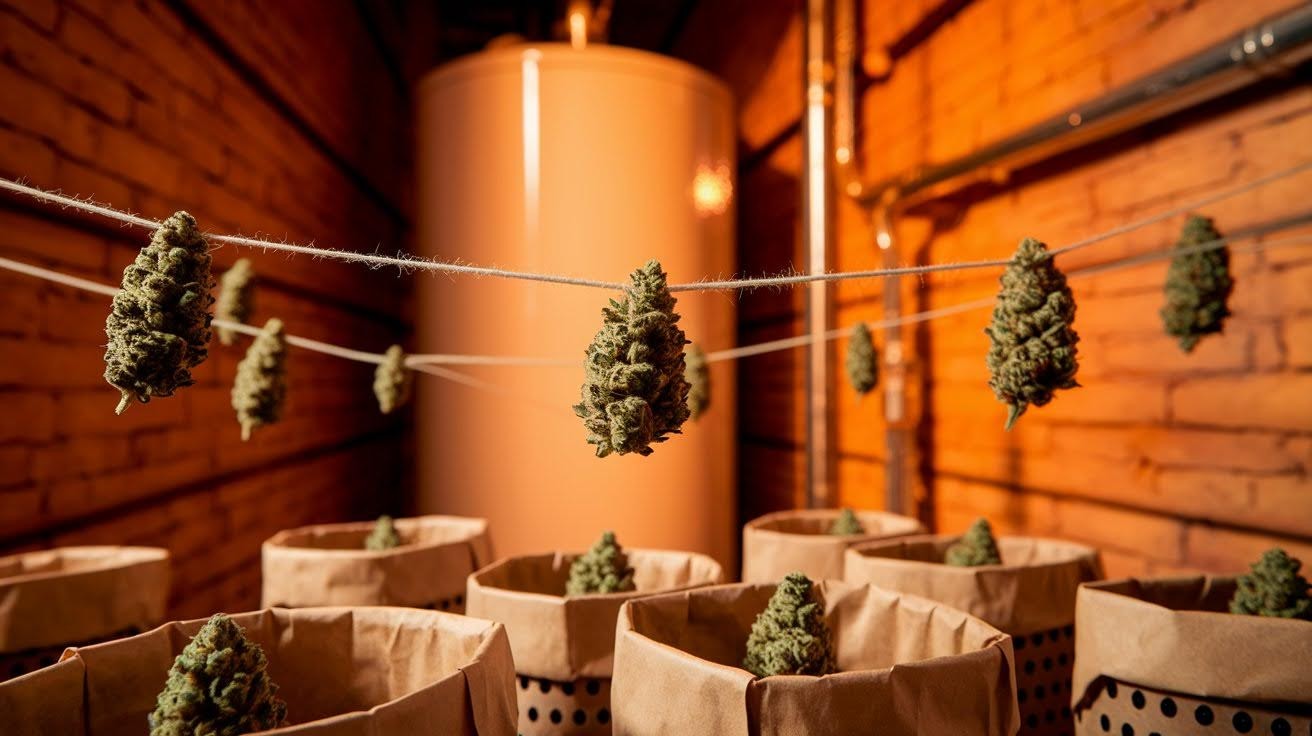
Utilize existing warm, dry environments in your home. Your boiler room stays warm and dry naturally. I’ve used this method countless times during emergencies.
Use brown bags for smaller buds, hanging for larger ones. Small buds go in paper bags with holes. Larger colas can hang from a string like traditional drying. The consistent warmth speeds everything up.
Timeline cuts normal drying time in half. Small popcorn buds take 3-4 days, medium buds need 4-5 days, and large colas require 6-7 days.
Boost the temperature by running your water heater. Run hot water periodically to add 5-10 degrees, which significantly speeds drying. Watch your utility bill, but the extra cost beats losing expensive cannabis.
11. Strategic Heat Application (When Necessary)

Last resort method with serious quality trade-offs. I only recommend this when everything else fails. Use a low oven temperature of 150-200°F maximum. Anything higher destroys everything good about cannabis.
Timeline is 10-15 minutes with constant monitoring. Never walk away. Check every 2-3 minutes and turn buds constantly. One minute too long ruins everything.
Use parchment paper-lined trays, never aluminum foil. Spread buds in a single layer with space between pieces.
You’ll lose most terpenes, some THC potency, and smooth smoke quality. You’ll keep the basic cannabinoid content and smokable product.
Stop immediately if you smell hay, see browning, or detect burning odors. Oven-dried weed tastes harsh but beats having no cannabis at all.
Conclusion
Now you know how to dry wet weed fast without destroying what makes it good.
The key is acting quickly while avoiding heat damage. Air drying with enhanced circulation preserves the most quality, while methods like rice jars and paper bags offer faster results when time is critical.
Your wet cannabis emergency is solved. You’ve learned when to save versus when to toss, plus multiple techniques that work without fancy equipment.
Remember: patience usually beats speed when it comes to preserving potency and flavor. But when you need fast results, these proven methods will get you there.
Got questions about your specific wet weed situation? Drop a comment below – I’d love to help you choose the best drying method for your emergency.
Frequently Asked Questions
How to dry wet weed fast without losing potency?
Use air drying with enhanced circulation or the rice jar method. Avoid heat-based methods like ovens or hair dryers, which destroy THC and terpenes. The timeline ranges from 24-72 hours for the rice method to 3-7 days for air drying.
Can I use a microwave or oven to dry wet weed quickly?
Avoid microwaves entirely. Ovens can work as a last resort at 150-200°F for 10-15 minutes with constant monitoring, but expect significant quality loss, including flavor, aroma, and some potency.
How long does it take to dry wet weed using fast methods?
Rice jar method: 24-72 hours. Paper bag method: 3-5 days. Air drying with fans: 3-7 days. Computer fan method: 1-2 hours for small amounts. Speed depends on the initial moisture level.
What’s the fastest way to dry wet weed at home?
For emergencies, the rice jar method or the computer fan technique works fastest. Rice pulls moisture out in 24-72 hours, while laptop fans can dry small amounts in 1-2 hours.
How do I know if my wet weed is too damaged to save?
Discard if you see visible mold (white fuzz, gray dust), slimy texture, foul/musty smell, or if it’s completely saturated. If it still smells like cannabis with no contamination, it’s likely salvageable.


