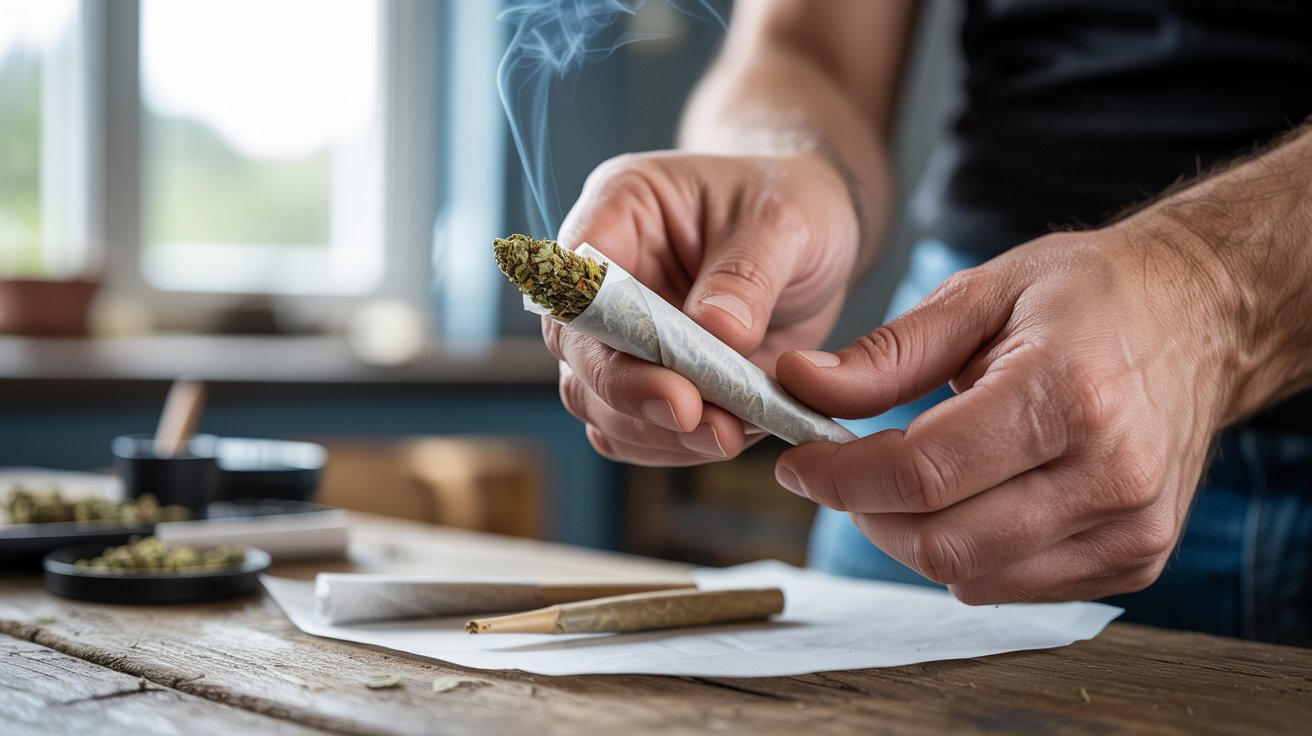
I packed my first cone by just shoving cannabis in and hoping for the best. It burned sideways within two hits and I had no idea why.
It took me a while to figure out that the fill is not the hard part. The technique is.
Most people assume a pre-rolled cone does all the work for you. It does not. How you fill it decides everything that comes after.
The airflow, the burn, the flavor, all of it traces back to those two minutes of packing.
Knowing how to pack a cone properly changed my sessions completely. This guide shows you exactly what I wish someone had told me earlier.
Why Proper Cone Packing Matters
Airflow is everything when it comes to a cone. If the cannabis is packed too tightly, air cannot move through and you end up pulling hard for almost nothing. If it is too loose, the smoke comes through too fast and burns harsh.
Proper packing also prevents canoeing. When density is uneven inside the cone, one side burns faster than the other and the whole thing runs off track quickly.
A well-packed cone also lasts longer. Even density means the burn moves steadily from top to bottom at a consistent pace, giving you more out of every session.
Learning how to pack a cone correctly reduces waste too. Loose packing and uneven fills lead to side burns that waste material without ever reaching your lungs.
Step-by-Step Techniques to Pack a Cone Perfectly
Getting a good pack is not complicated, but it does require attention at each step. Rush any one of these and the whole cone suffers. Here is exactly what to do.
Step 1: Choose the Right Grind Consistency
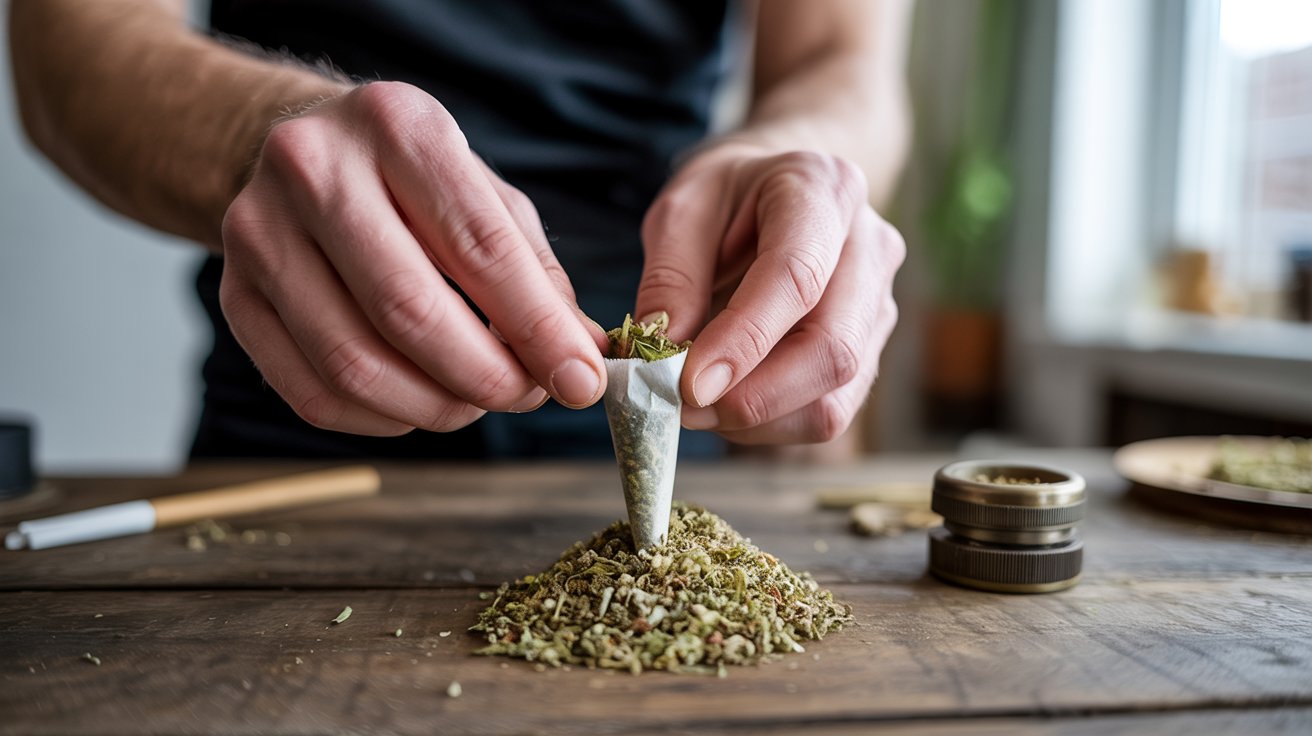
A medium grind is what you want every time. It is consistent enough to pack evenly and coarse enough to let air flow through without restriction.
Too fine a grind packs like dust. It compresses under the slightest pressure and blocks airflow completely. Your cone ends up tight, harsh, and nearly impossible to draw from.
Too chunky and you get gaps. Air pockets form between the larger pieces, which leads to uneven density and side burns during the smoke.
Two to three full rotations in a standard grinder gets you the right consistency. Check it before you start filling. It should feel airy but not powdery.
Step 2: Use a Packing Tool the Right Way
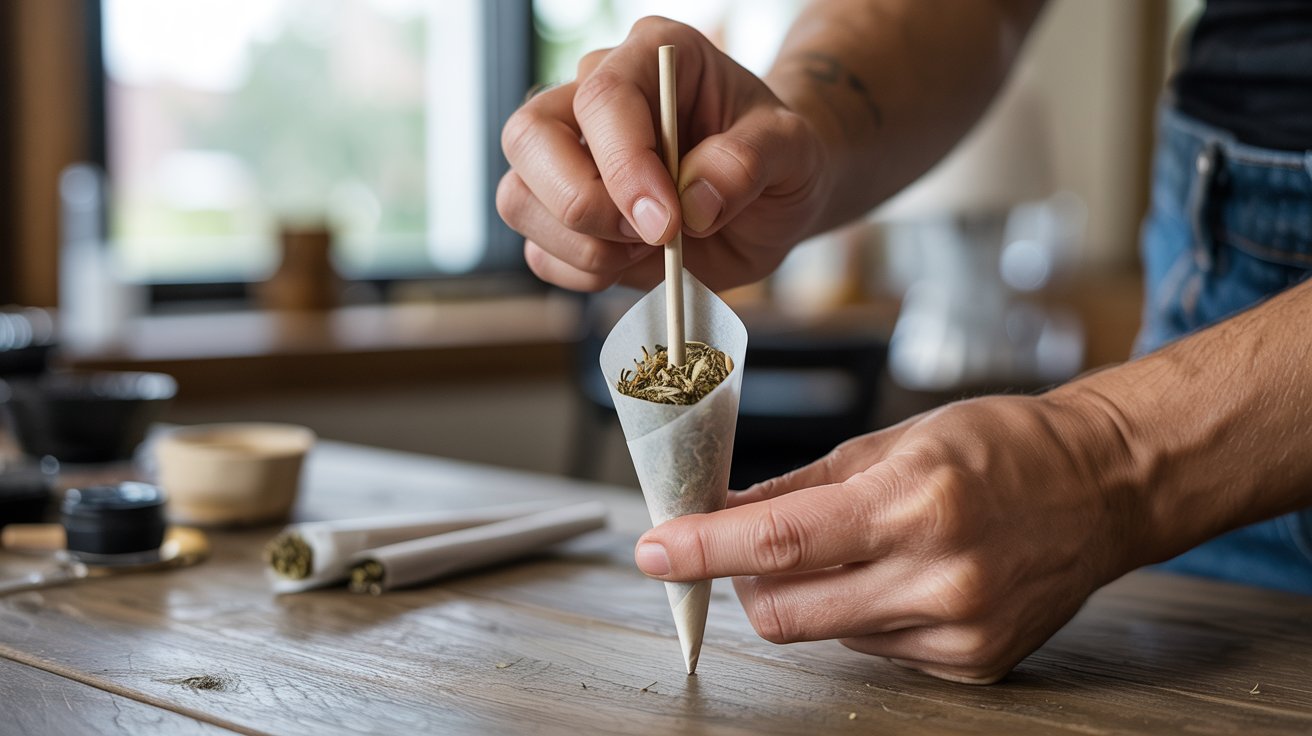
You do not need a special tool. A poker, the tip of a pen, or a packing stick all work well. The goal is gentle, consistent pressure, not force.
Push down lightly after each small addition of cannabis. You are settling the material, not compressing it. There is a big difference between those two things.
Be especially careful near the bottom of the cone, right above the filter. Over-compressing this area cuts off airflow at the source and ruins the draw before the cone even lights.
Work slowly and check the resistance as you go. If pressing the tool in feels like pushing into a wall, you have already packed it too tight.
Step 3: Fill the Cone in Small Layers

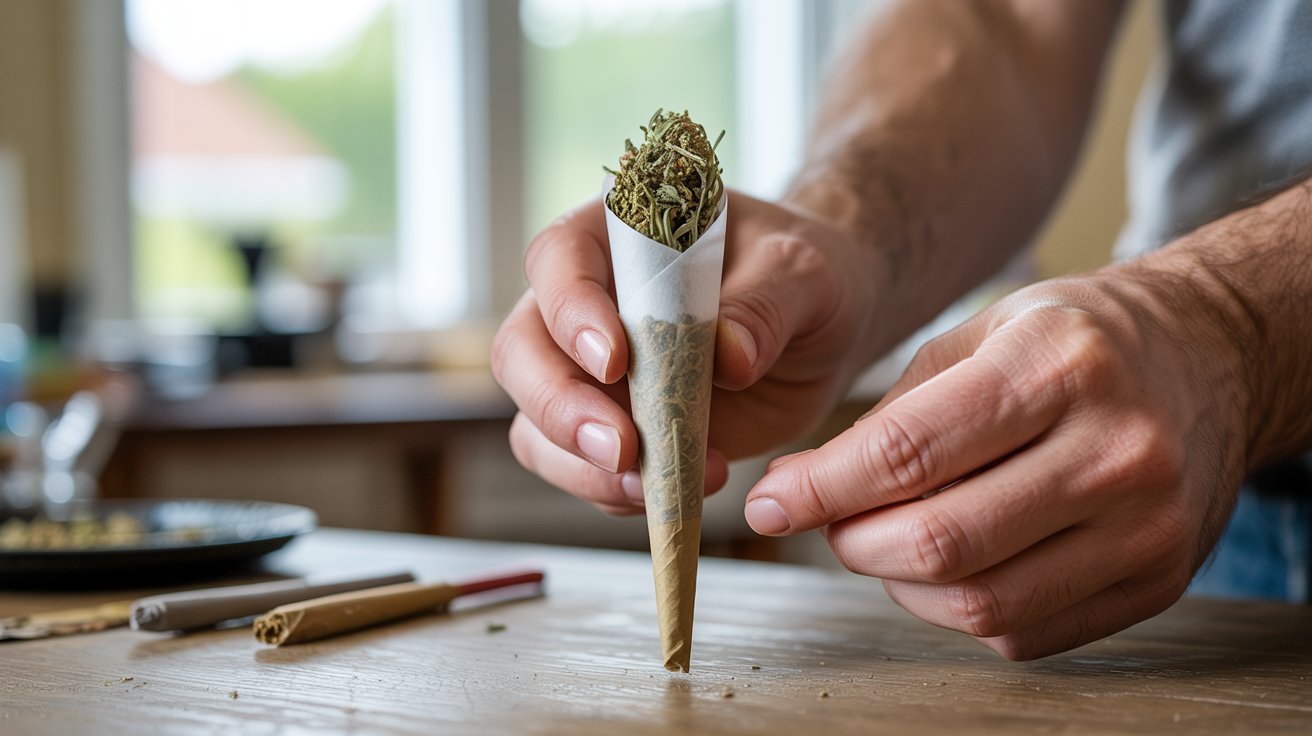
Do not dump all your cannabis in at once. Fill the cone in small amounts, a pinch at a time, and settle each layer before adding the next one.
Layering creates even density from the filter to the top. When you pour everything in at once, the material settles unevenly and you end up with tight spots near the bottom and loose spots near the top.
After each pinch, use your packing tool to gently press it down. You should feel it settle without much resistance if the grind and amount are right.
Air pockets are the enemy here. Layering is the simplest way to catch and fill them before they cause problems mid-smoke.
Step 4: Tap and Settle the Cone Evenly
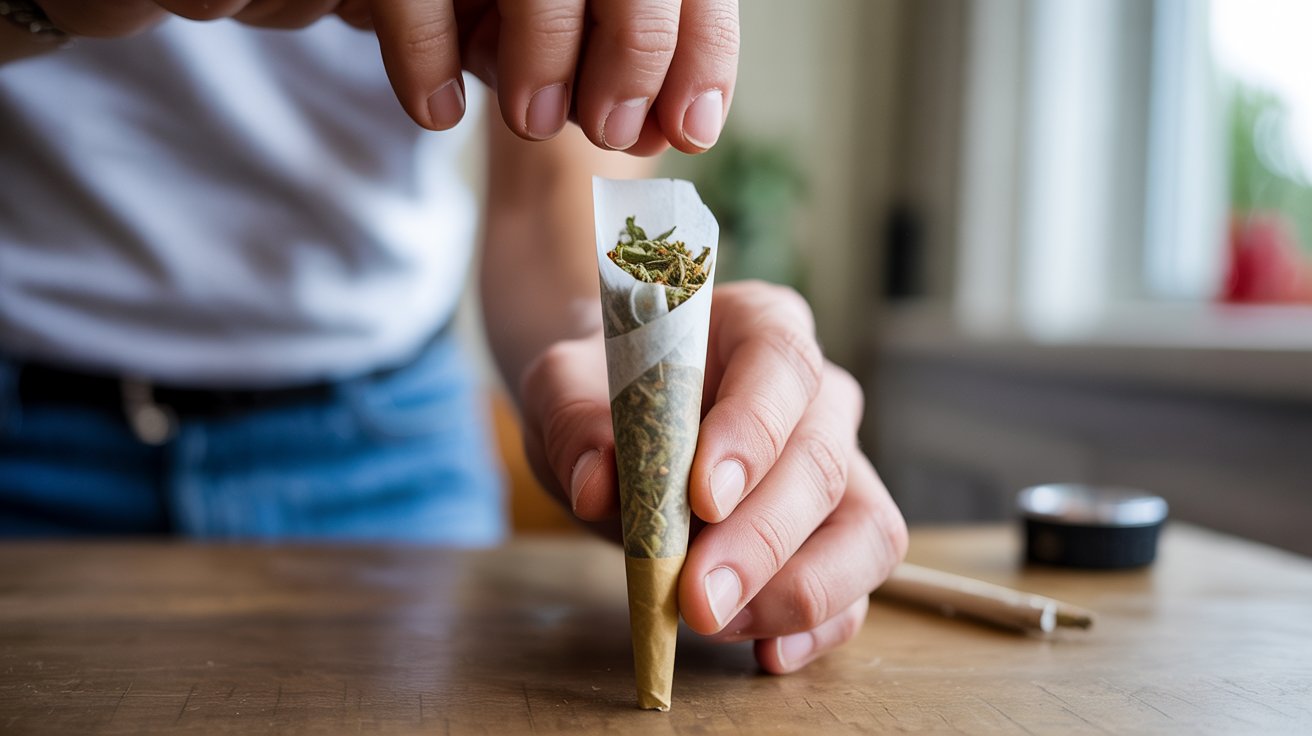
Once the cone is partially filled, hold it upright and tap the filter end gently against a flat surface. This helps the cannabis shift down and fill any gaps you might have missed.
Do not tap too hard. A few light taps are enough to settle the material. Hard tapping compresses everything too much and undoes the layering work you just did.
After tapping, look down into the open end of the cone. You should see an even surface with no obvious dips or loose clumps sitting higher than the rest.
Repeat this process two or three times as you fill. Tap, check, add more, repeat. It takes an extra 60 seconds and makes a noticeable difference in how the cone burns.
Step 5: Finish With the Perfect Top Pack
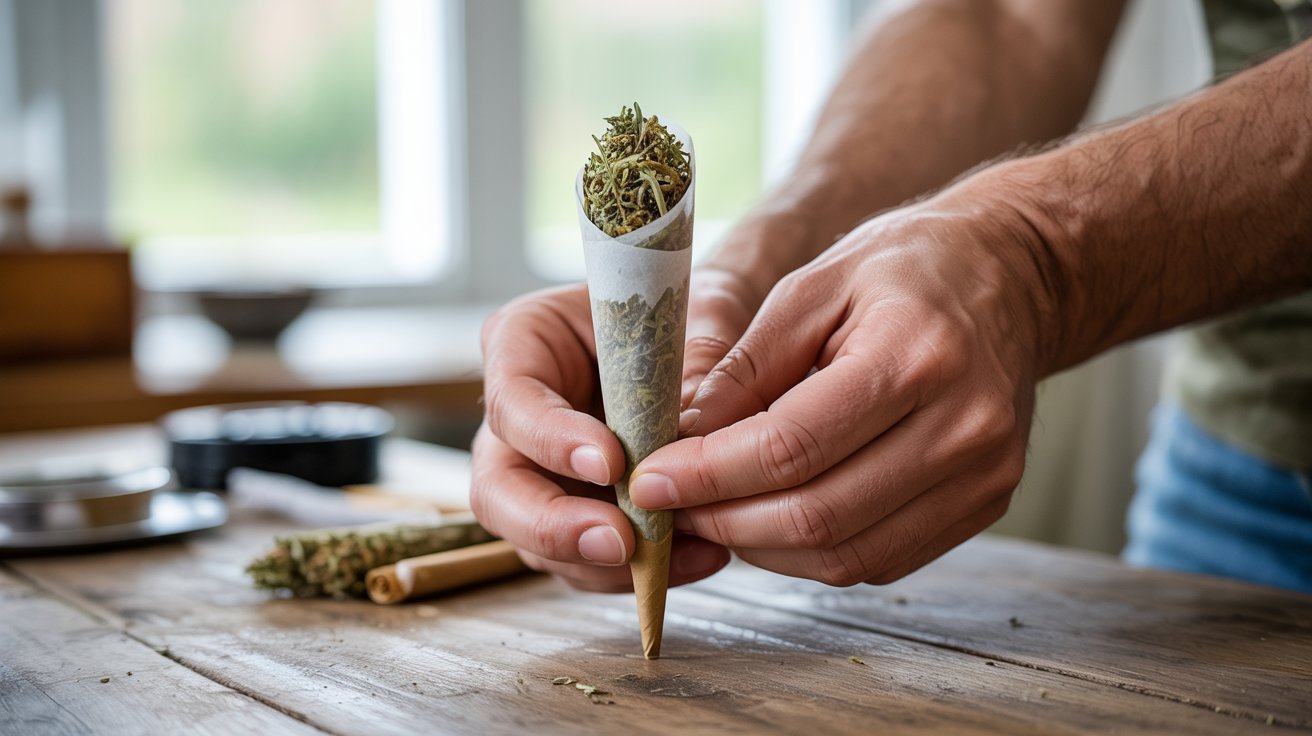
The top layer needs just slightly more firmness than the rest of the cone. This helps the cone hold its shape when you twist the end and keeps the opening from collapsing before lighting.
Add your final pinch and press it down just a little more firmly than the layers below. Not tight, just firm enough that the surface feels consistent when you run a tool across it.
Twist the open end of the cone to close it off. A clean twist that goes all the way around works better than a loose fold. It keeps the top intact and gives you a cleaner light.
Give the cone a gentle squeeze along its length before lighting. It should feel evenly firm from bottom to top with no obvious soft spots.
Common Mistakes That Ruin a Cone
Most cone problems trace back to the same handful of habits. These are easy to fix once you know what to look for.
- Using a grind that is too fine, which compresses and blocks airflow completely
- Dumping all the cannabis in at once instead of filling in layers
- Over-packing the bottom section near the filter
- Skipping the tapping step, which leaves air pockets throughout the cone
- Twisting the top too loosely, which lets material fall out before lighting
- Ignoring uneven density until the cone starts burning sideways
- Packing in a rush without checking resistance between layers
Every one of these mistakes is avoidable. Slow the process down and pay attention to how the cone feels at each stage. A little extra time upfront makes the entire smoke session better.
Pro Tips to Pack a Cone Like an Expert
Once you have the basics down, these habits are what separate a decent pack from a great one. Small adjustments that make a real difference.
- Always grind fresh material right before packing. Older ground cannabis dries out and becomes too fine
- Use a cone loader or small funnel if you find filling messy or inconsistent
- Pack slightly looser near the top to allow for a clean, easy light
- Store packed cones upright if you are not smoking right away to keep the shape intact
- Rotate the cone slightly while tapping so the material settles evenly on all sides
- Check the draw before lighting by pulling air through with no flame. It should feel easy and smooth
- If the draw feels tight, use a thin poker to gently open a channel through the center before lighting
These habits become second nature quickly. Once they do, knowing how to pack a cone well stops feeling like a process and just becomes how you roll.
Conclusion
Most people never stop to think about why their cone burns the way it does. Now you do.
Knowing how to pack a cone well is one of those small skills that quietly improves every session after you learn it. No more chasing uneven burns or relighting halfway through.
You have got everything you need to get it right. The only thing left is to actually try it.
Pack one tonight and pay attention to the difference. Then come back and tell me how it went in the comments. And if this helped, pass it on.
Frequently Asked Questions
How Do You Pack a Cone Evenly?
Fill the cone in small layers and gently tap the filter end on a flat surface between each addition. This settles the material evenly and prevents air pockets from forming inside.
Why Does My Cone Keep Canoeing?
Canoeing usually happens when the density inside the cone is uneven, causing one side to burn faster. Uneven lighting and a grind that is too chunky in spots also contribute to the problem.
Can You Pack a Cone Too Tight?
Yes, and it is one of the most common mistakes. Over-packing restricts airflow and makes it nearly impossible to draw smoke through comfortably.
What Is the Best Grind for Packing Cones?
A medium grind works best because it is consistent enough to pack evenly while still allowing good airflow. Fine grinds compress too easily and chunky grinds leave gaps.
How Much Should You Fill a Pre-Rolled Cone?
Fill it to about 2 to 3mm below the open end, leaving just enough room to twist it closed cleanly. Overfilling makes sealing difficult and often leads to material falling out before lighting.