
Bud rot can destroy months of hard work in just days. If you’ve spotted brown, mushy spots on your cannabis buds, don’t panic. You’re not alone. This is one of the most common problems growers face, especially in humid conditions. I’ve been growing cannabis both indoors and outdoors for over ten years, and I’ve seen how fast bud rot can spread if you don’t act quickly.
This guide is packed with solutions that have worked for real growers, including myself. You’ll learn how to safely remove infected buds, use the right fungicides, and adjust your grow environment to stop the spread. I’ll also share prevention strategies that have kept my harvests clean even during wet seasons.
We base our advice on first-hand experience and research-backed practices. You’ll find tips that work, not theory, and you can trust that every recommendation here is field-tested and fact-checked.
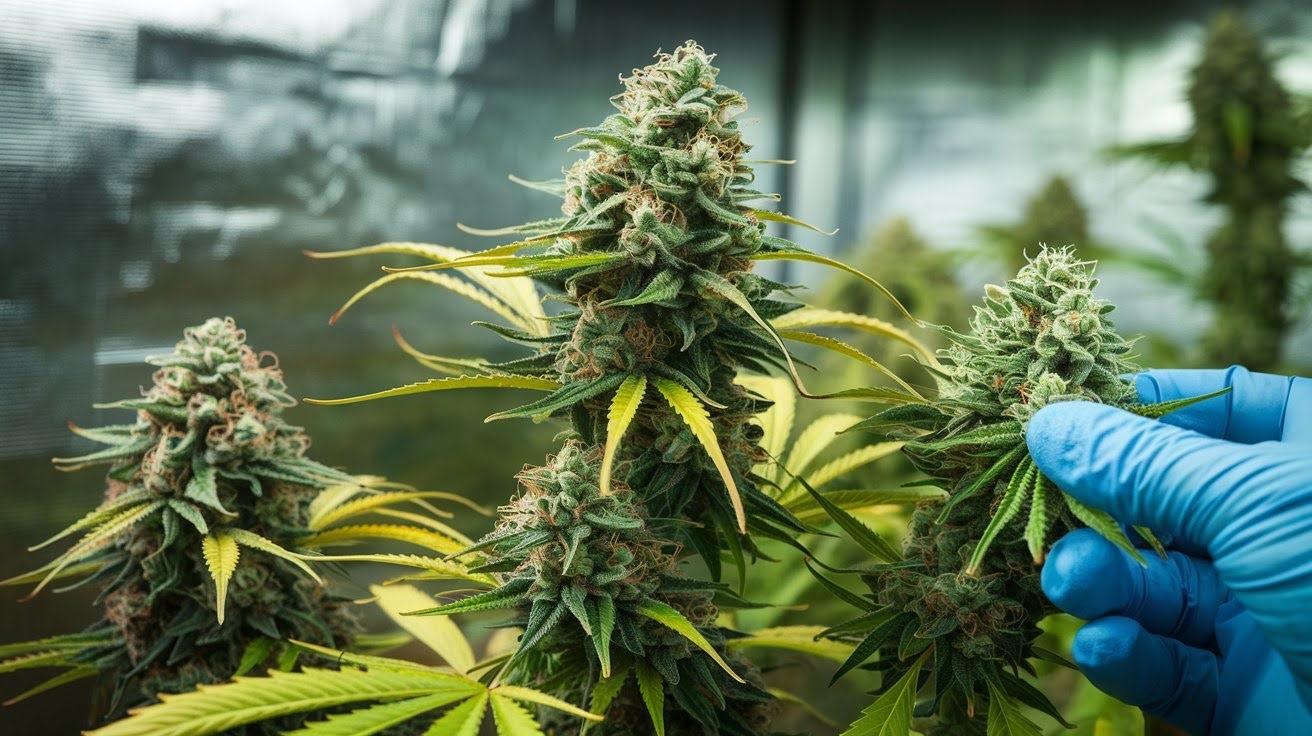
Identifying Bud Rot: Key Symptoms That Require Immediate Treatment
You need to catch bud rot early. I’ve learned this the hard way after losing entire harvests to late detection. Look for these warning signs:
Brown or gray fuzzy growth inside your buds. This is the most obvious symptom, but it often occurs too late by the time you notice it. But here’s what most growers miss: the early signs happen before the fuzz appears.
Yellow or brown leaves that feel mushy when touched. These leaves typically surround the stem where buds are located. A musty, sour smell is coming from your plants. Healthy cannabis smells fresh and pungent. Infected plants smell like wet socks.
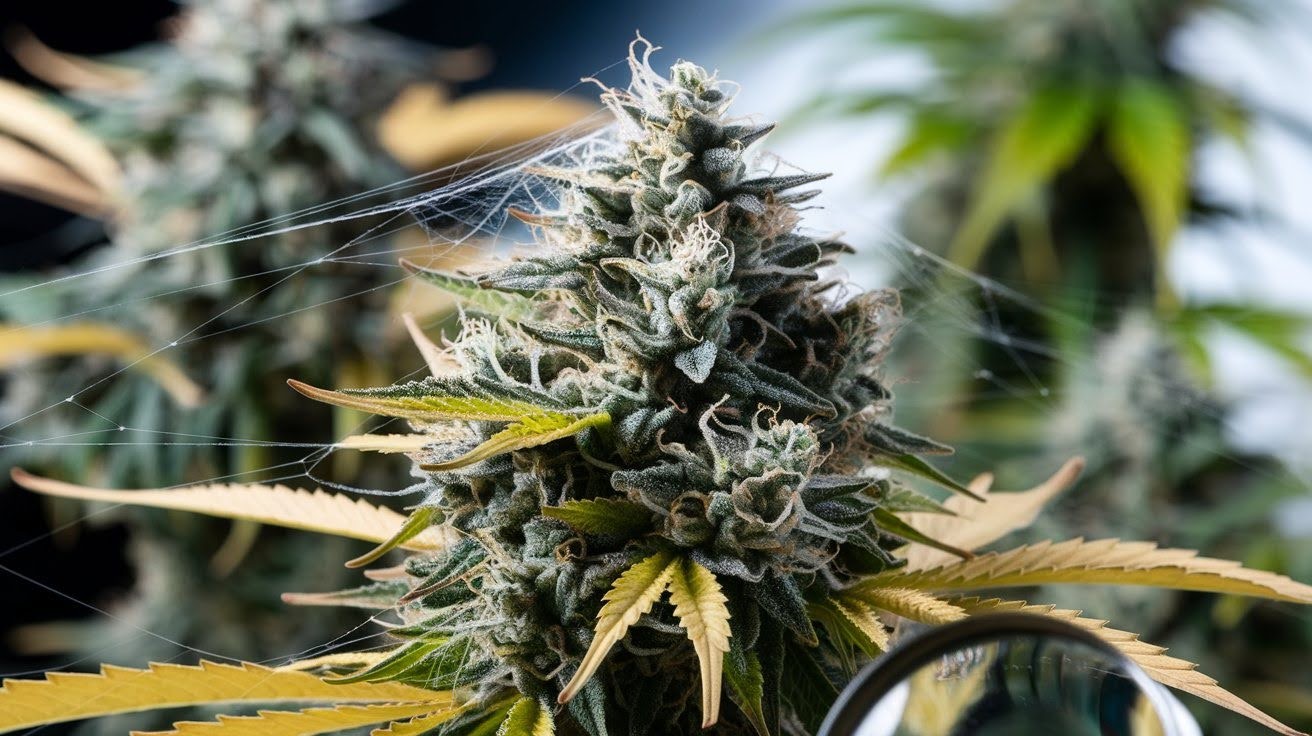
White, web-like threads inside dense buds. Use a magnifying glass to spot these early.
Check your plants daily during flowering. Focus on thick, dense buds where air circulation is limited.
Early Warning Signs for Treatment Intervention
Spotting problems early prevents minor issues from becoming crop-destroying disasters, and quick action saves plants and protects your entire harvest investment.
Visual Symptoms Requiring Action
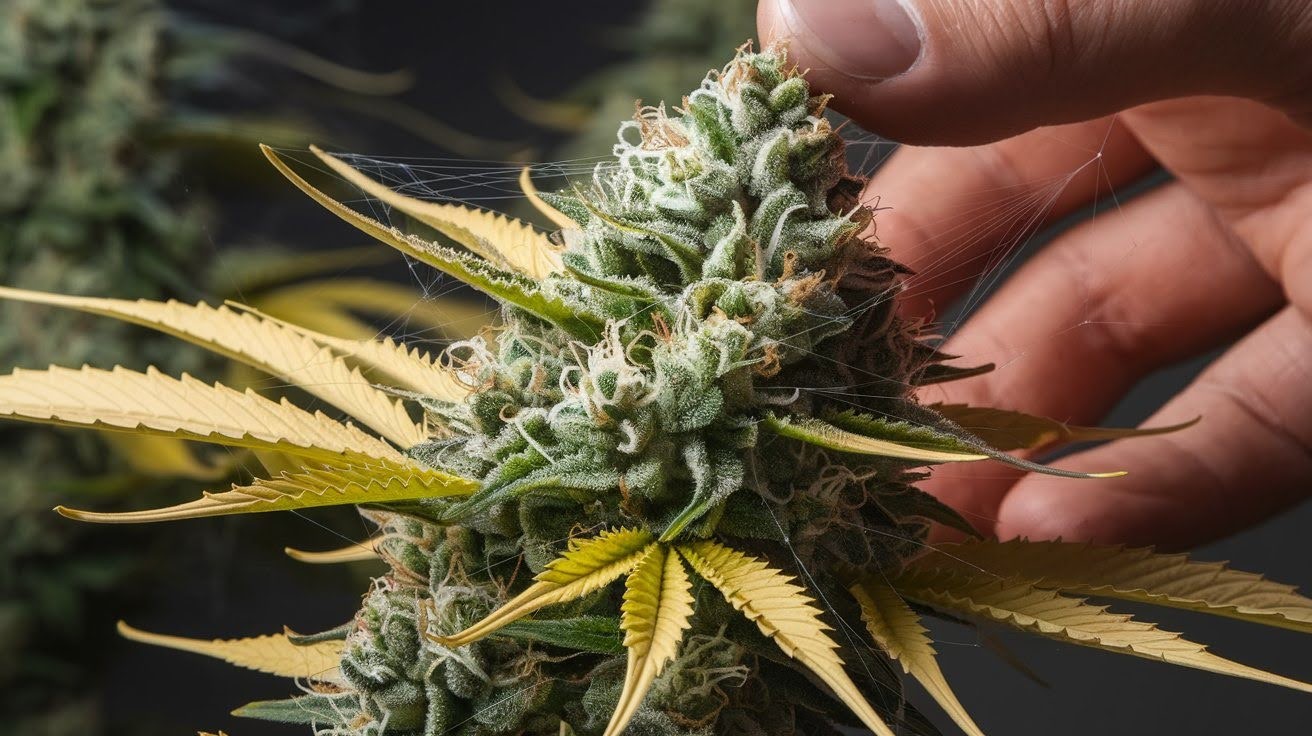
Pay attention to the leaf bracts first. These small leaves surrounding your buds turn yellow before anything else appears. Look for gray, mushy stems at the center of your buds. Press gently healthy stems feel firm. Infected ones feel soft and squishy.
Water-soaked spots on flower parts are another red flag. These appear to be wet patches that won’t dry out. White fluffy threads that look like spider webs mean trouble. You’ll find these inside dense buds.
Progressive Symptoms Demanding Emergency Response
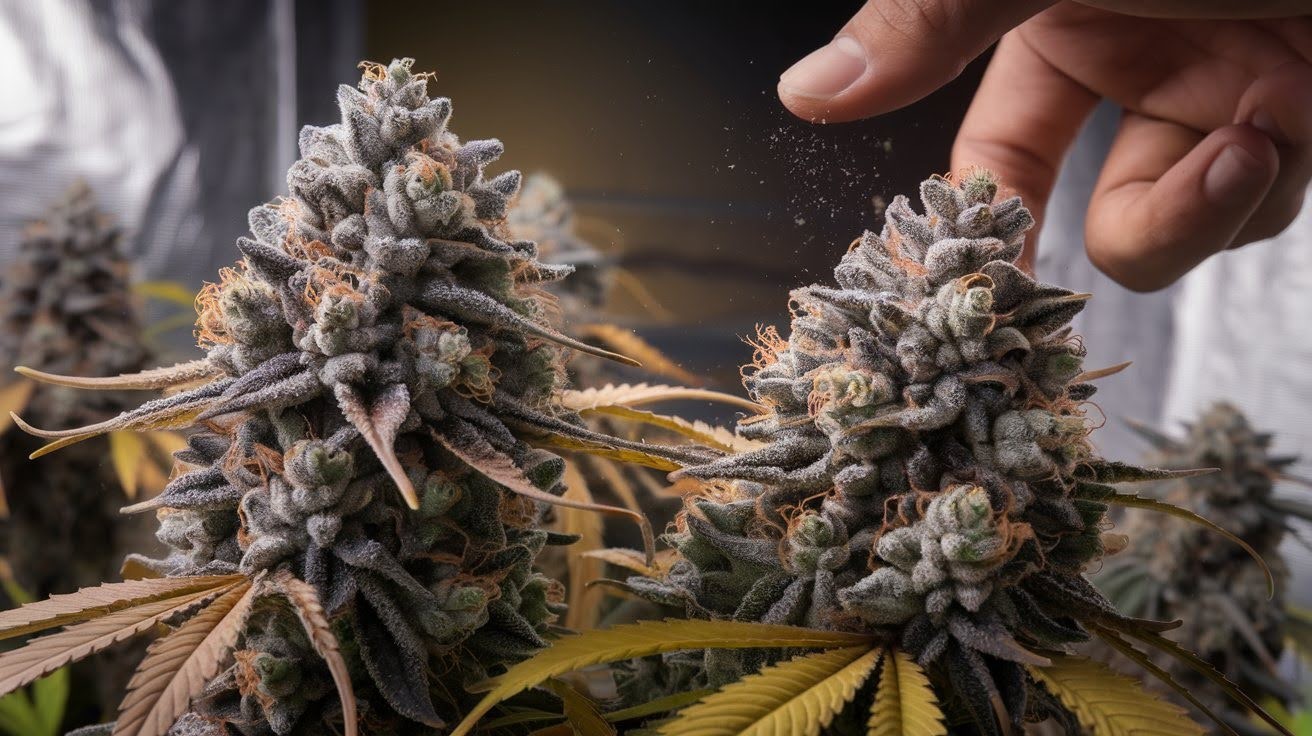
When you see gray mats covering flower clusters, act fast. This means the infection has spread significantly. Brown or gray patches on buds are hard to miss. Don’t wait if you spot these.
Dark, dusty specks inside buds are fungus spores. Shake a bud gently if dust comes out, you have a serious problem. The smell tells the whole story. Infected plants smell like wet hay or rotting fruit instead of fresh cannabis.
Emergency Treatment Protocol: Immediate Action Steps
Time is your enemy when bud rot strikes. I’ve watched too many growers hesitate and lose everything. The moment you spot an infection, drop what you’re doing and take action.
Quarantine and Removal Procedures
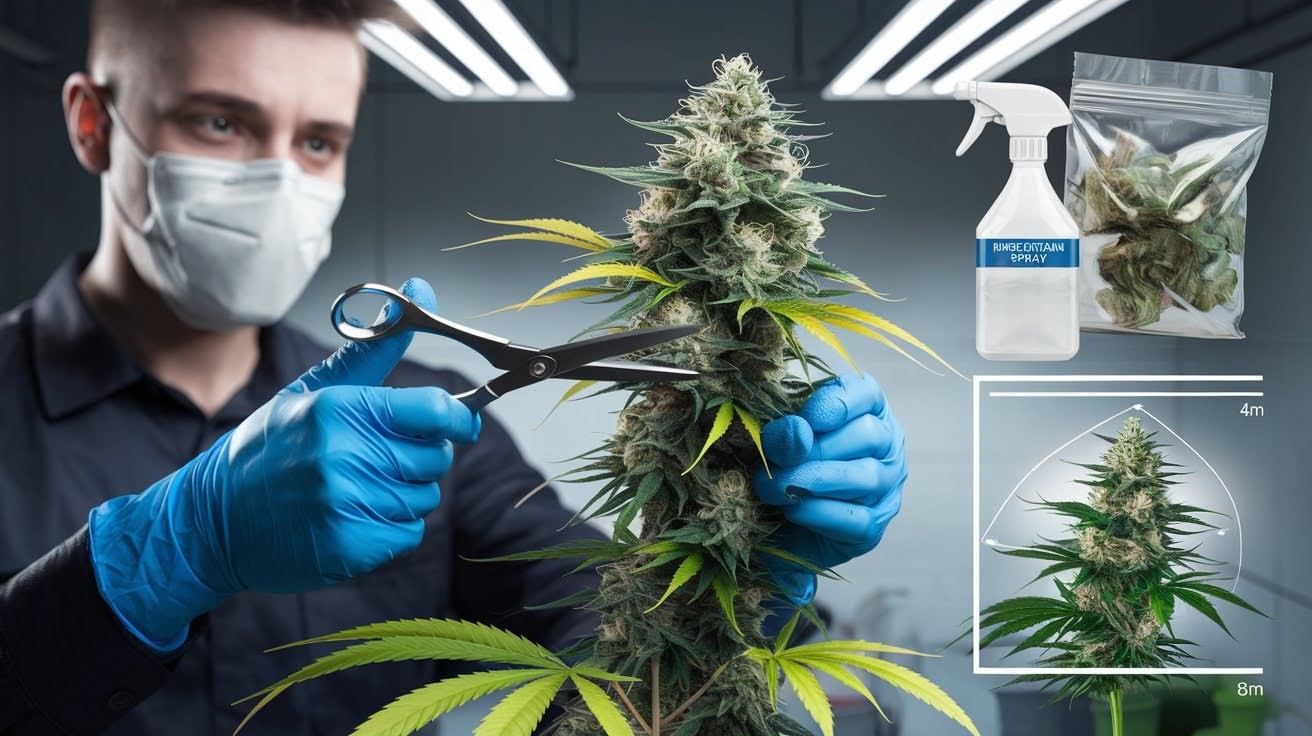
Gear up before you touch anything. Put on gloves and a mask those spores will make you sick if you breathe them in. Clean your scissors with rubbing alcohol. Every cut needs clean tools. Prevent the spread of infection by using clean equipment.
Cut 4 inches above and below the visible rot. I know it hurts to remove healthy-looking material, but infected areas are bigger than they appear. Here’s the critical step: Drop each piece directly into a sealed plastic bag. Don’t let infected material come into contact with your workbench or other plants.
Remove infected plants from your grow space immediately. Even being in the same room puts your healthy plants at risk. Get all infected material outside your house. Never use your kitchen trash keep it straight to outdoor bins.
Never compost infected material. The spores survive composting and will infect future crops. Burn it or throw it away completely. Clean your hands and tools before touching anything else.
Immediate Environmental Corrections
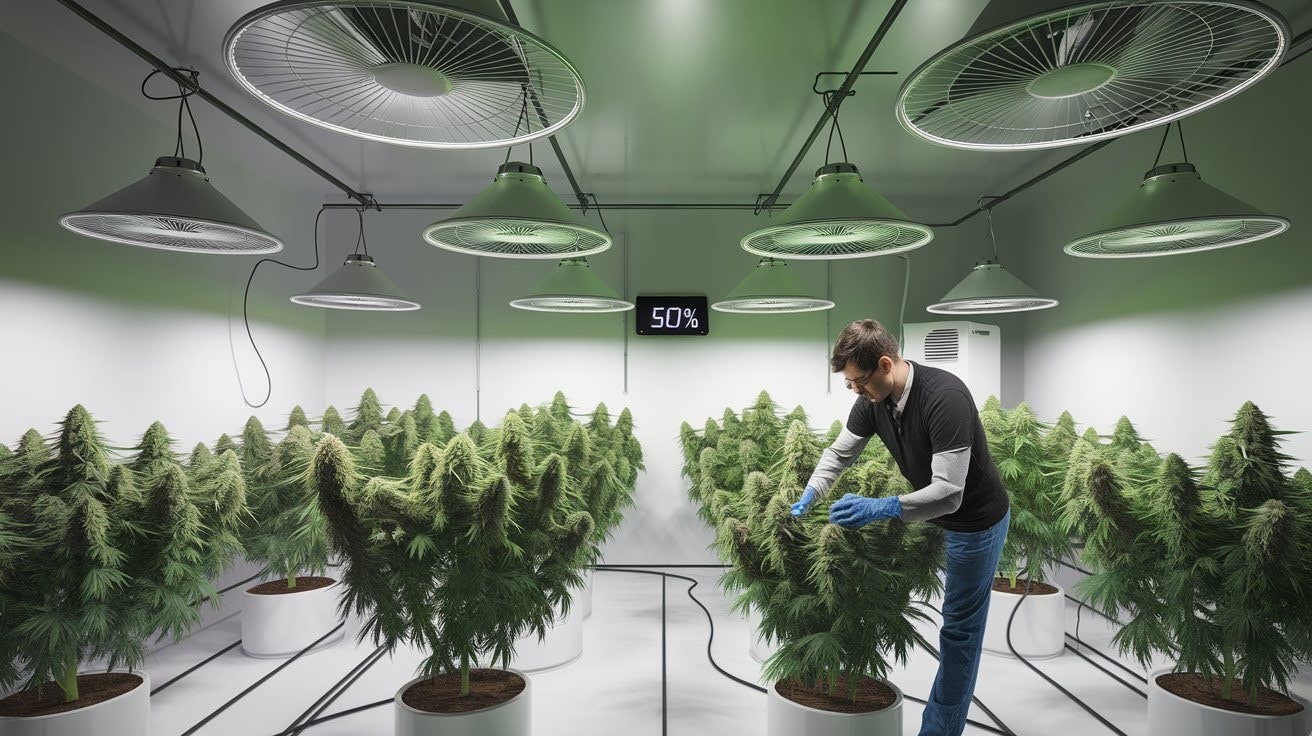
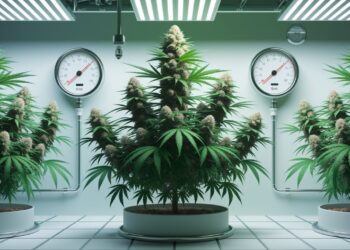
Your grow room is probably too humid right now. Most bud rot problems start with humidity levels above 50%. Get that number below 50% immediately. Use every dehumidifier you can find. Borrow one from a friend if necessary.
But humidity control isn’t enough. Add oscillating fans throughout your growing space. I mean everywhere, corners, ceiling, and floor level. Still air kills plants.
Create airflow patterns that reach every bud site, point fans so air moves in circles around your plants, not just straight across. Here’s what most growers get wrong: They put one fan in the corner and think that’s enough.
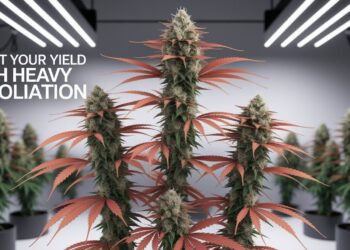
Strip away the problem areas now. Remove all lower leaves that aren’t getting light. These leaves hold moisture and create problems. Remove any leaves that create wet spots between branches. If two plant parts are touching, separate them.
Space your plants further apart. I know you want to maximize your growth space, but crowded plants can lead to sick plants. Every bud needs its space to breathe. If you can’t stick your hand between plants easily, they’re too close together.
Check that air can flow freely around each plant.
Active Treatment Methods: Stopping the Spread
Quick intervention stops plant diseases from spreading through your entire crop. These proven treatment methods save infected plants and protect healthy ones.
Environmental Control Treatment
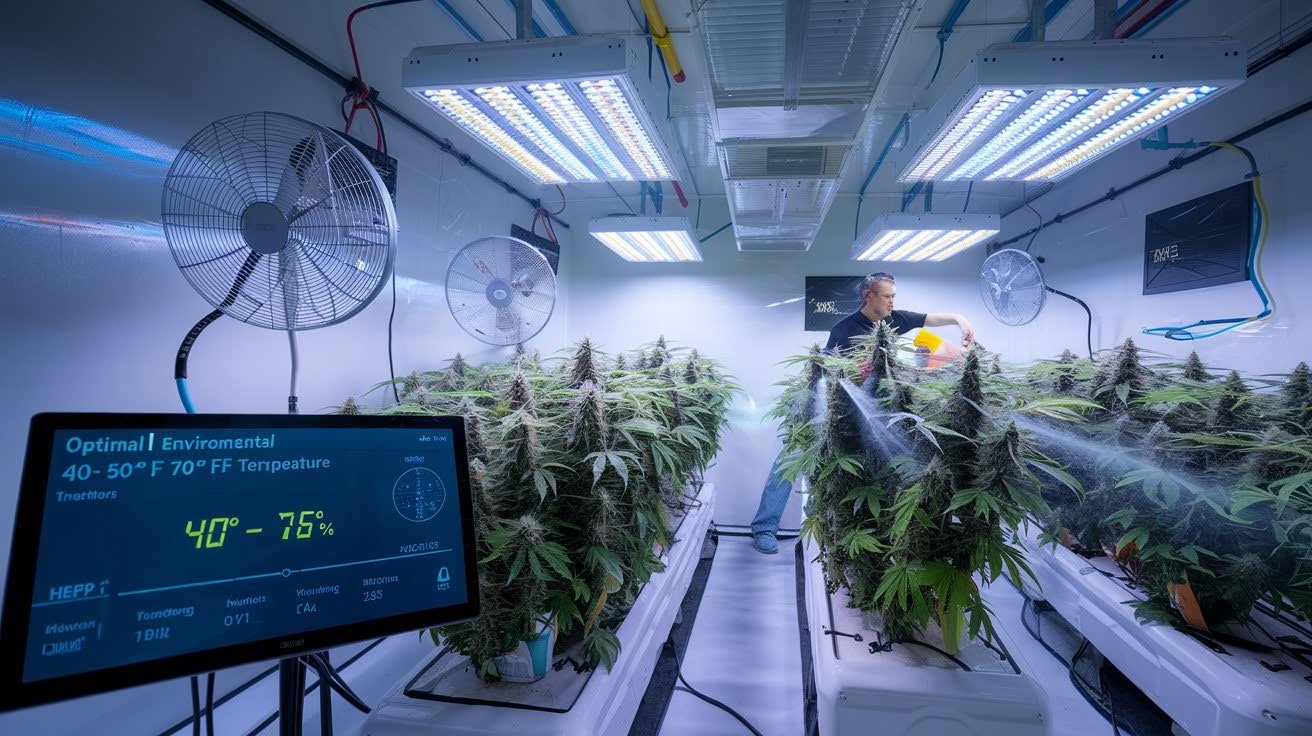
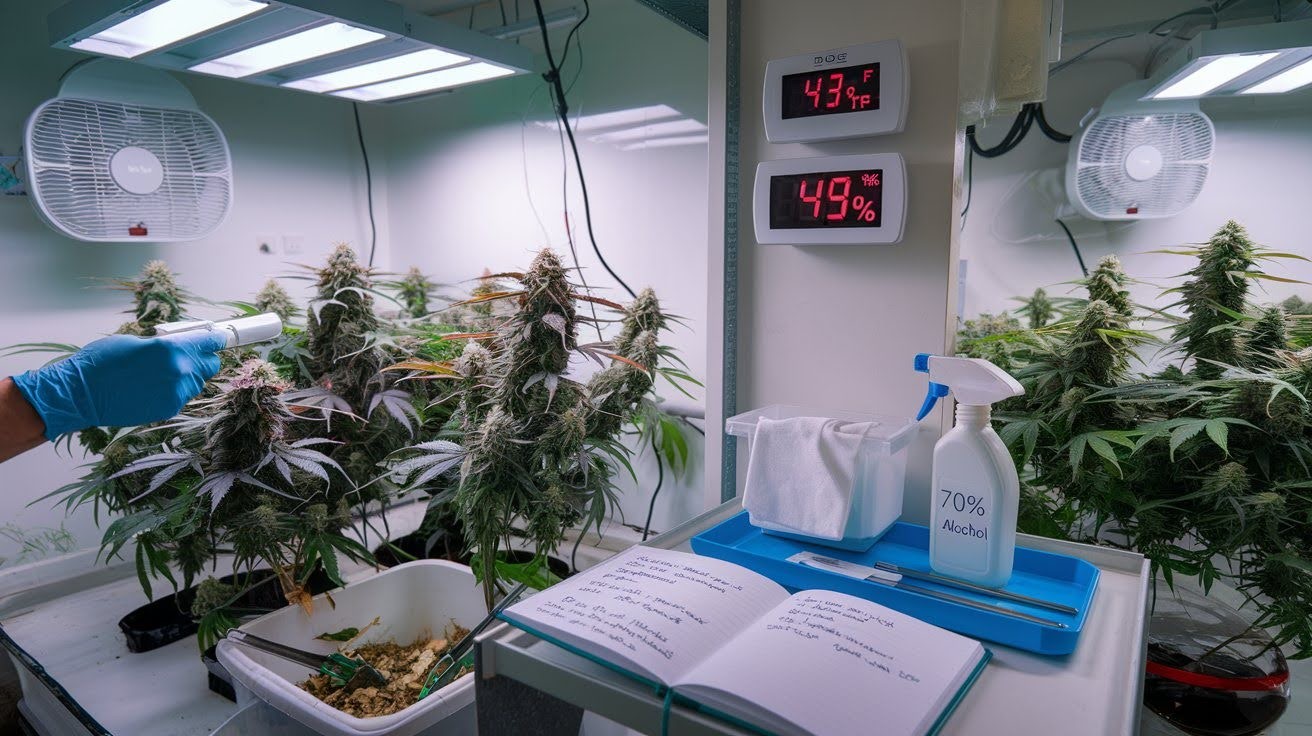
Your environment is your best weapon against bud rot. I’ve seen perfect growth ruined by ignoring these numbers. Maintain humidity between 40% and 50% during flowering. Any higher and you’re asking for trouble.
Temperature matters too. Stay between 70-75°F (20-24°C). Hot spots create condensation where bud rot loves to grow. Never turn off your fans. Air circulation needs to run continuously, not just during daylight hours.
Water your plants in the morning only. Evening watering creates overnight humidity spikes that feed fungal growth. HEPA filter air scrubbers remove spores directly from the air in your grow room. These machines are worth every penny.
Install inline ventilation with particle filters. Clean air coming in, dirty air going out. UV LED lamps kill airborne spores before they land on your plants. Position them above your canopy.
However, here’s the game changer: Continuous air quality monitoring provides you with precise insights into what’s happening in your growth space. No more guessing about humidity levels.
Biological Treatment Solutions
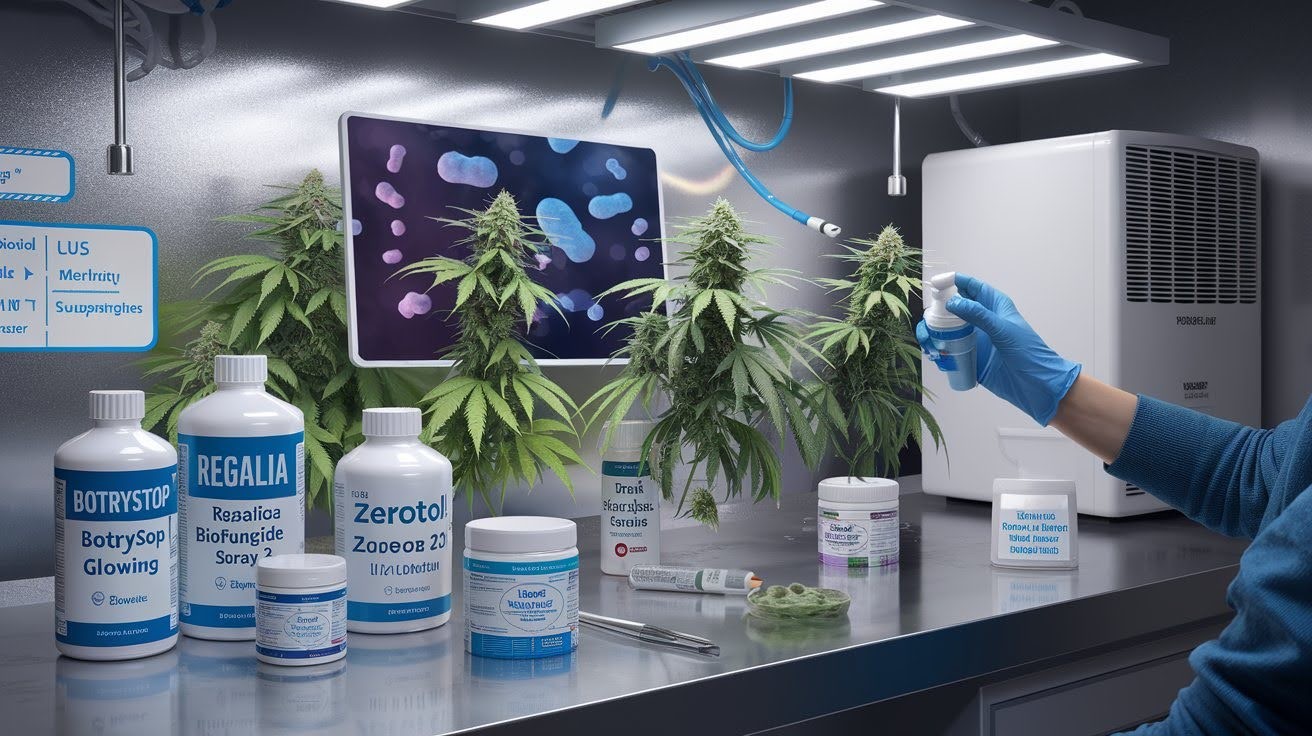
BotryStop is your first line of defense. This biological product prevents spores from taking hold in your plants. Regalia biofungicides actively reduce existing spores in your grow space. Apply these weekly during flowering.
Beneficial microorganisms strengthen your plant’s natural immunity. Think of them as bodyguards for your cannabis. Natural immunity boosters work too. These products help your plants fight off infections on their own.
ZeroTol 2.0 sterilizes everything it touches. Use this oxidizing cleaner on tools, surfaces, and grow room equipment. Anti-Botrytis fungicides are effective, but should only be used during the vegetative growth stage. Never spray flowering buds.
Professional-grade dehumidifiers are more expensive but work more effectively than cheaper units. Ozone generators thoroughly disinfect your grow space between crops, ensuring a clean environment for your subsequent cultivation. Run these only when plants aren’t present.
Comprehensive Sanitation Treatment
Total sanitation eliminates pathogens from every surface, tool, and growing area. Thorough cleaning prevents reinfection and protects future crops completely.
Complete Sterilization Protocol
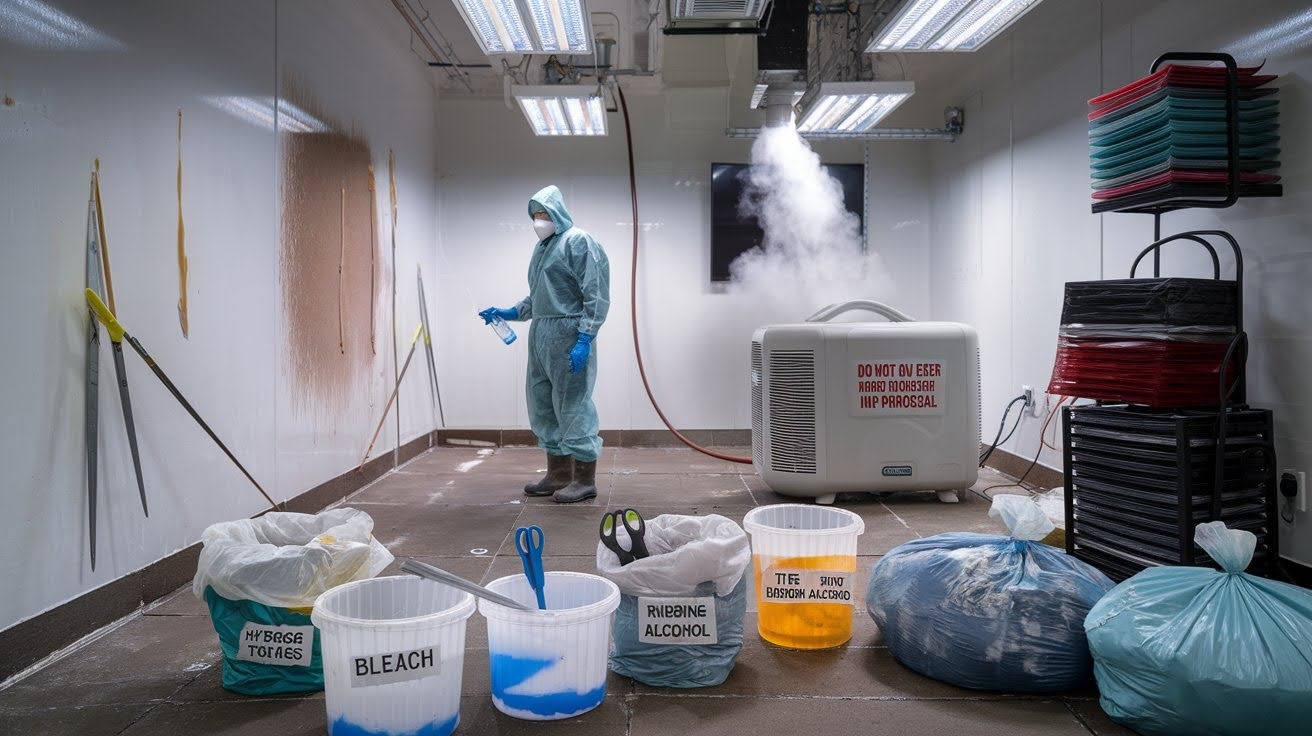
Clean everything that touched infected plants. I mean everything, scissors, gloves, pots, stakes, ties. Use a 10% bleach solution or 70% rubbing alcohol. Soak tools for at least 10 minutes. Don’t just wipe them down.
Replace fabric pots and soft ties completely. These materials hold spores even after cleaning. Air-dry everything before storage. Wet tools create perfect conditions for spore growth.
Strip your grow room down to bare walls. Remove all plants, pots, and equipment first. Spray all surfaces with hydrogen peroxide or bleach solution. Pay special attention to corners and cracks where spores hide.
Clean your ventilation system thoroughly. Replace all filters and wipe down ductwork.
Wait 48 hours before returning anything. This gives cleaning products time to kill remaining spores. Run ozone generators during this waiting period for complete sterilization.
Ongoing Maintenance Treatment
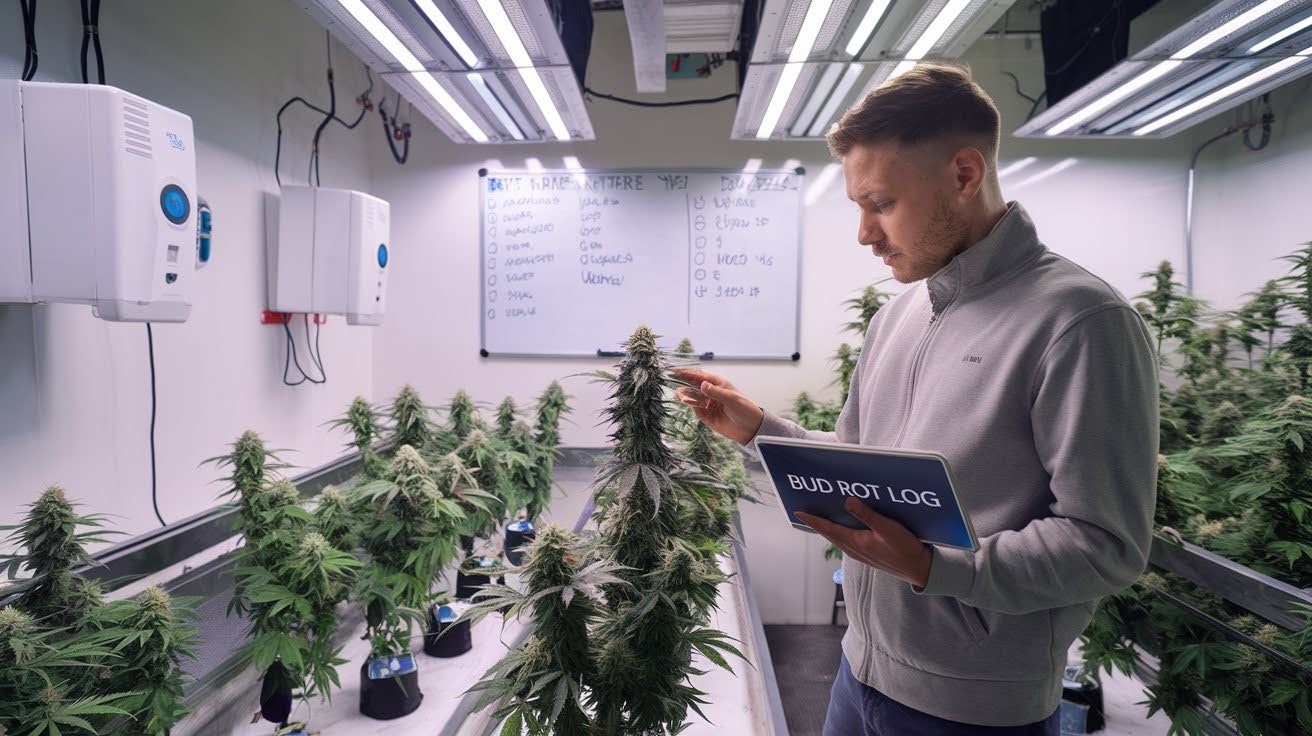
Check your plants every single day. I inspect mine twice daily during flowering, once in the morning and once in the evening. Look for the early warning signs we covered earlier. Catch problems before they spread.
Test humidity and temperature levels multiple times per day. Keep a log of these numbers.
Clean dead leaves immediately. Never let plant debris sit in your grow space. Rotate which plants you check first each day. This prevents you from spreading problems from sick plants to healthy ones.
Keep your tools clean between plants. A quick alcohol wipe takes seconds but saves crops.
Replace water in reservoirs weekly. Stagnant water breeds fungal problems.
Post-Treatment Recovery and Protection
Helping plants recover after treatment requires careful monitoring and protective measures. Proper aftercare prevents reinfection and restores healthy growth patterns.
Modified Harvesting and Drying Treatment
Sometimes you need to cut your losses early. If you can’t fix your environmental problems, harvest what you can save. Focus on saving the healthy parts of your plants. Don’t try to rescue everything it’s not worth the risk.
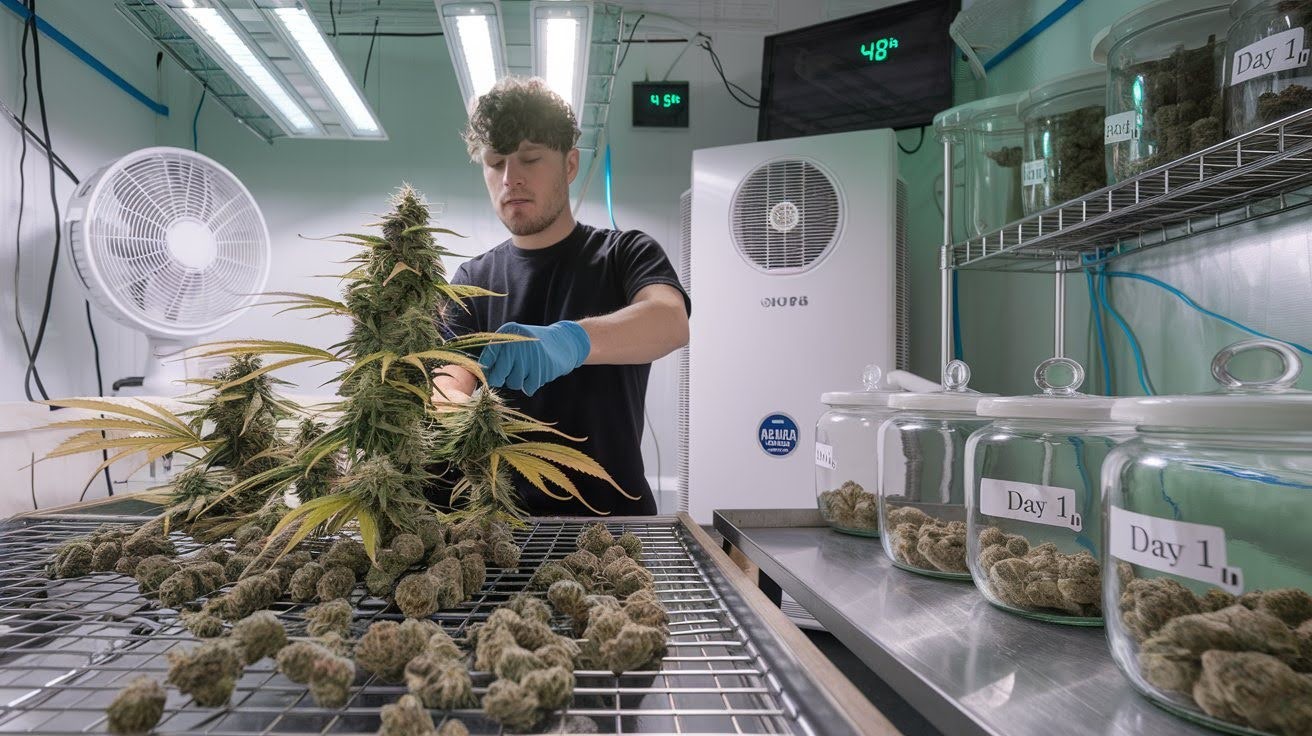
Speed up your drying process when mold is a threat. Use more fans and lower humidity than normal drying conditions. Double your air circulation during the drying phase. Still air during drying invites more problems.
Scrutinize every bud before placing it in storage. I discard anything that appears questionable.
Maintain humidity levels between 45% and 55% during the curing process. This range prevents mold while maintaining quality.
Open your storage jars daily during the first week. Fresh air exchange prevents moisture buildup.
Long-Term Treatment Success Strategies
Learn from what went wrong. Write down what caused your bud rot problem and fix those issues permanently. Upgrade your environmental controls if needed. Better equipment prevents future problems.
Check your plants daily, even when everything appears to be perfect. Clean your grow space weekly, not just when problems appear. Track which plants recovered and which methods were most effective. Keep notes for next time.
Monitor your environmental improvements. Make sure your fixes work. Document what saved your crop. These notes become your playbook for future infections.
Conclusion
Bud rot treatment doesn’t have to end your growing season. With the right approach, you can save your plants and prevent future infections. Remember the key steps: act fast when you spot symptoms, remove infected material safely, and fix your environmental conditions.
Immediately. Most growers who follow these methods save their harvests.
The techniques we covered, from emergency protocols to long-term prevention, give you everything needed to handle bud rot confidently. Your plants can recover when you catch problems early and respond appropriately.
Keep this guide handy for future reference. Please share it with fellow growers who might face similar challenges. Got questions about your specific situation? Drop a comment below, I’m here to help you protect your cannabis plants and get back to successful growing.
Frequently Asked Questions
How quickly does bud rot treatment need to start after detection?
Begin bud rot treatment immediately upon detection. Remove infected material within hours to prevent the spread of spores. Delay increases the risk of infection and can destroy entire plants within days.
Can you save a plant once bud rot treatment begins?
Yes, early bud rot treatment can save plants. Remove all infected areas, improve air circulation, and maintain a humidity level below 50%. Success depends on catching the infection early.
What’s the most effective bud rot treatment for indoor grows?
Immediate removal of infected material, reducing humidity to 40-50%, increasing air circulation, and using fungicides like BotryStop. Environmental control is the most critical treatment factor.
Is bud rot treatment safe during the flowering stage?
Yes, but avoid chemical fungicides on flowering buds. Focus on environmental controls, the removal of infected material, and biological treatments, such as beneficial microorganisms, for safe treatment during the flowering stage.
How long does successful bud rot treatment take to work?
Proper bud rot treatment stops the spread within 24 to 48 hours. Full recovery takes 1-2 weeks with consistent environmental controls and daily monitoring for new infections.


