
Thinking about growing cannabis at home but not sure how to begin? You’re not alone. Many first-time growers feel stuck after reading too many mixed messages online. I’ve worked with new growers for years and know what works without wasting time or money.
In this guide, I’ll walk you through each step using tips that come from hands-on experience. We’ll talk about what’s legal, how to pick the right seeds, set up your space, and care for your plants from start to harvest. I’ll keep it simple, no hard terms or overpriced gear.
Just clear advice based on real success stories. You’ll learn what tools and supplies to buy, how to avoid common errors, and how to grow healthy plants in your own space. By the end, you’ll feel ready to start your growth with confidence and a clear plan.
Your Complete Step-by-Step Guide to Growing Cannabis at Home
Want to grow cannabis at home? This simple guide shares easy, precise steps to help beginners start and succeed with confidence.
Step 1: Know the Law Before You Start
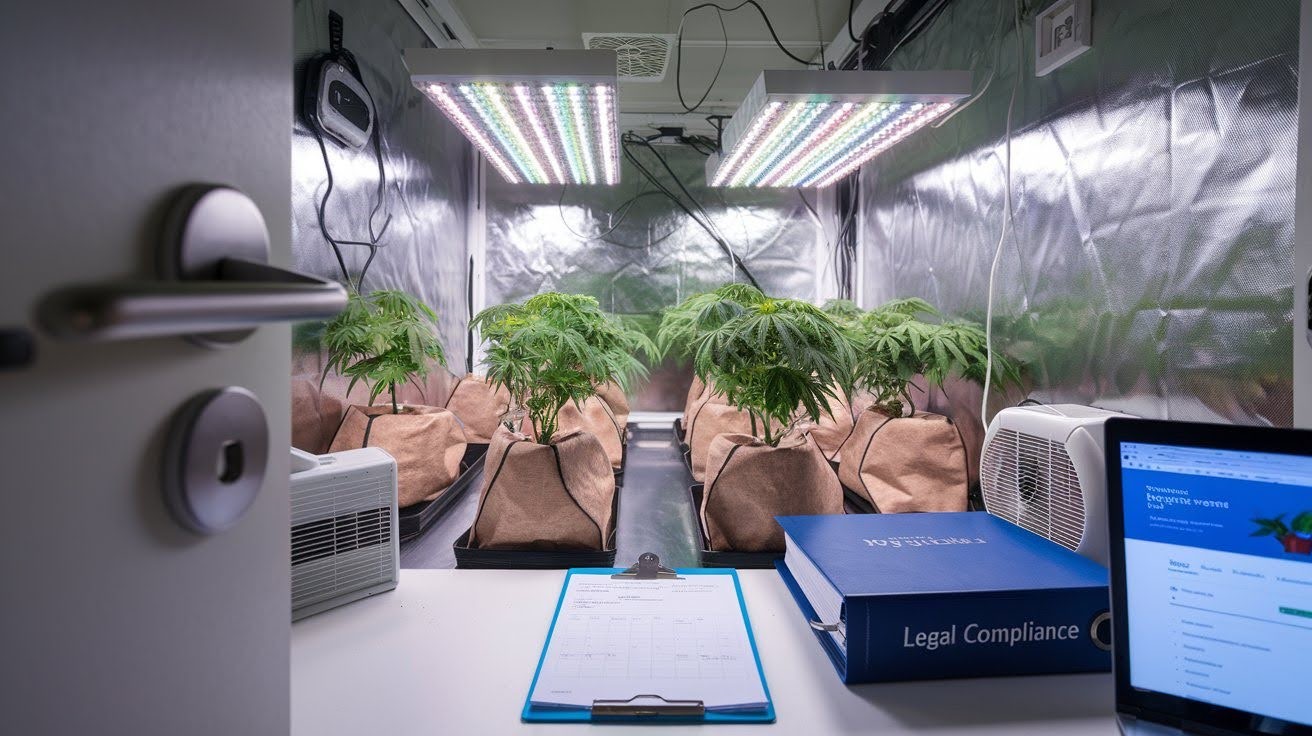
Stop right here. Before you buy a single seed, you need to check the law. This isn’t optional.
I’ve seen too many people get into trouble because they skipped this step. Don’t be one of them.
Here’s what you must do first:
- Research your state’s specific plant limits – Most allow 4-8 plants per household. Some are stricter.
- Confirm you meet age requirements – You need to be 21+ in most states. No exceptions.
- Check with your landlord if renting – Even if it’s legal, your lease might say no.
- Plan for required plant tags – You’ll need name, ID number, and “personal use” notation on each plant.
Ensure your growing space will be enclosed, locked, and not publicly visible – Your neighbors shouldn’t see your plants. Get this wrong, and you’re risking serious legal problems.
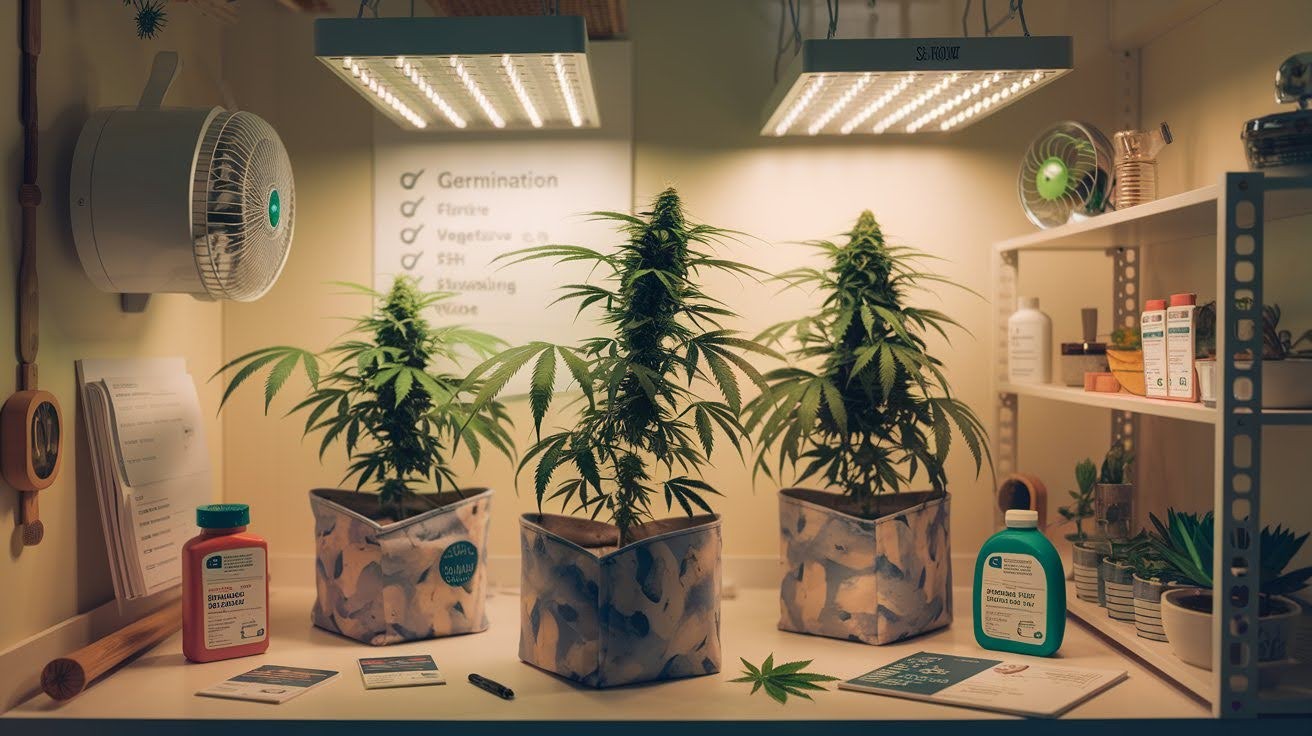
Step 2: Planning and Equipment Setup
Now comes the fun part. You get to decide where and how you’ll grow your plants. I recommend starting small. You can continually expand later.
You have two main options:
- The indoor option gives you complete control and year-round growing. But you’ll need equipment.
- The outdoor option uses free sunlight and natural growing conditions. However, you’re dependent on the weather.
Space requirements: You need a secure, lockable area that can fit 3-5 gallon containers. Think closet, spare room, or fenced backyard. Essential Equipment Shopping List.
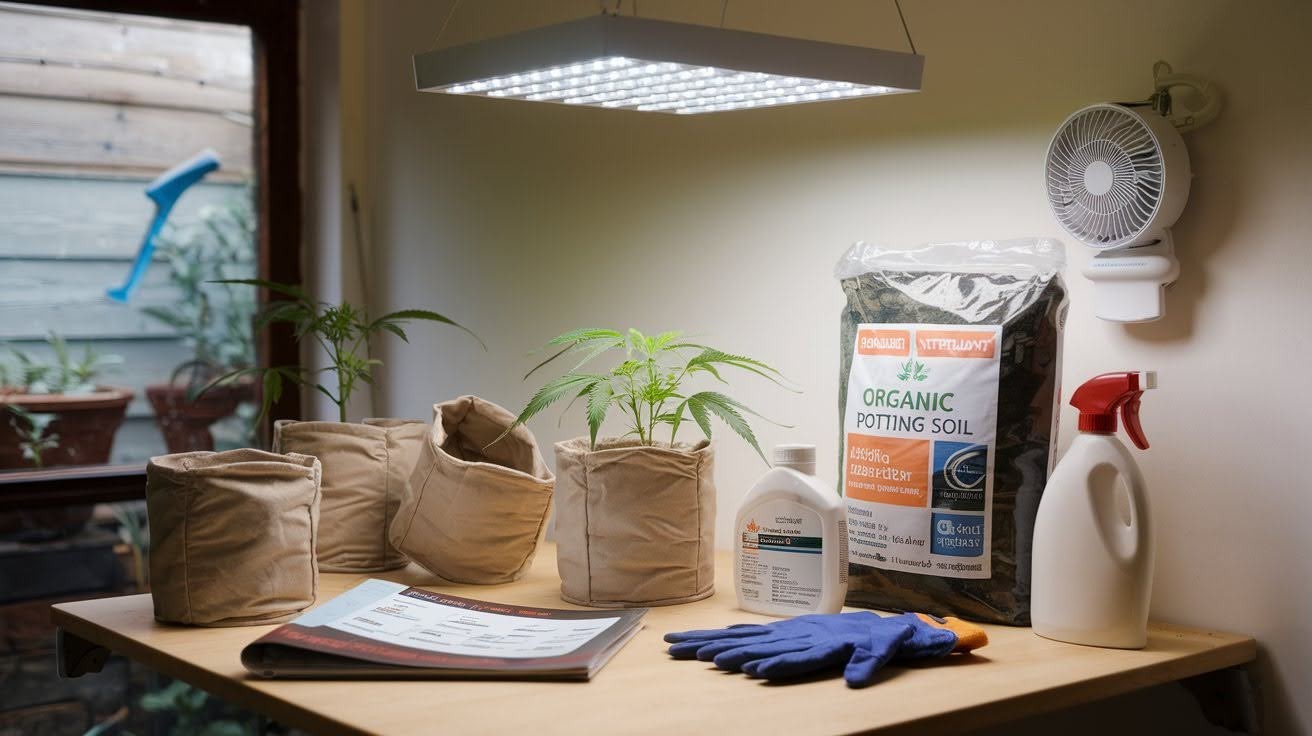
Here’s what you need:
For Indoor Growing:
- LED grow light – 100W for small spaces, 300W for larger areas
- Timer for light cycles – your plants need consistent schedules
- Basic ventilation fan – keeps air moving
- 3-5 gallon containers with drainage holes – bigger pots mean bigger plants
- Quality potting soil that’s well-draining and organic
- Basic thermometer – temperature matters
- Simple cannabis nutrients for vegetative and flowering stages
For Outdoor Growing:
- Large containers or garden space
- Quality outdoor soil
- Basic nutrients
- Plant protection materials like stakes and row covers
Don’t overthink this. Start with the basics and add more equipment as you learn.
Step 3: Select and Prepare Your Seeds
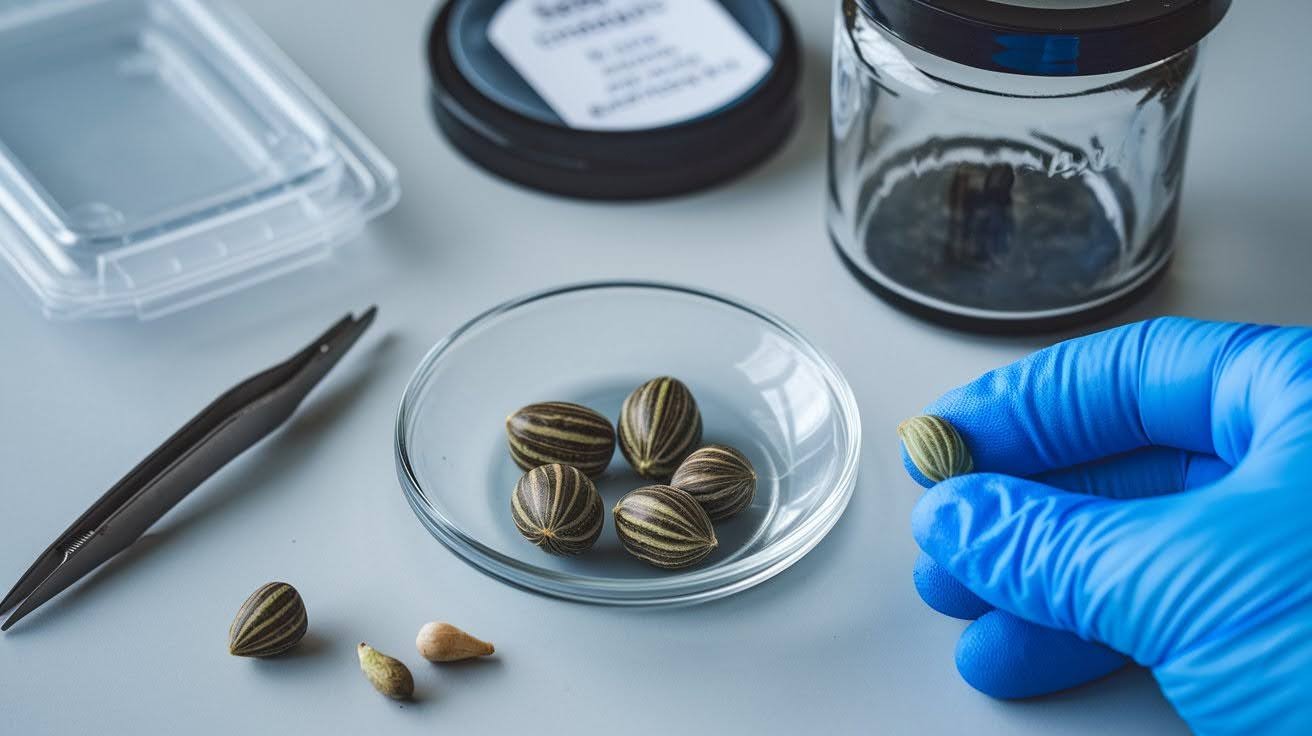
Your seed choice makes or breaks your growth. I learned this the hard way, my first time.
- Select feminized seeds – This avoids male plants that don’t produce buds
- Choose autoflowering varieties – These are much simpler for new growers
- Start with 1-2 seeds – Don’t get carried away on your first grow
- Good seeds look dark brown, hard, and shiny. They should feel solid in your hand.
- Avoid soft, white, or green seeds – these won’t grow properly.
- Storage tip: Keep unused seeds in a cool, dark place. Heat and light damage them.
Trust me on this – quality seeds are worth the extra cost.
Step 4: Germination Process (Days 1-7)
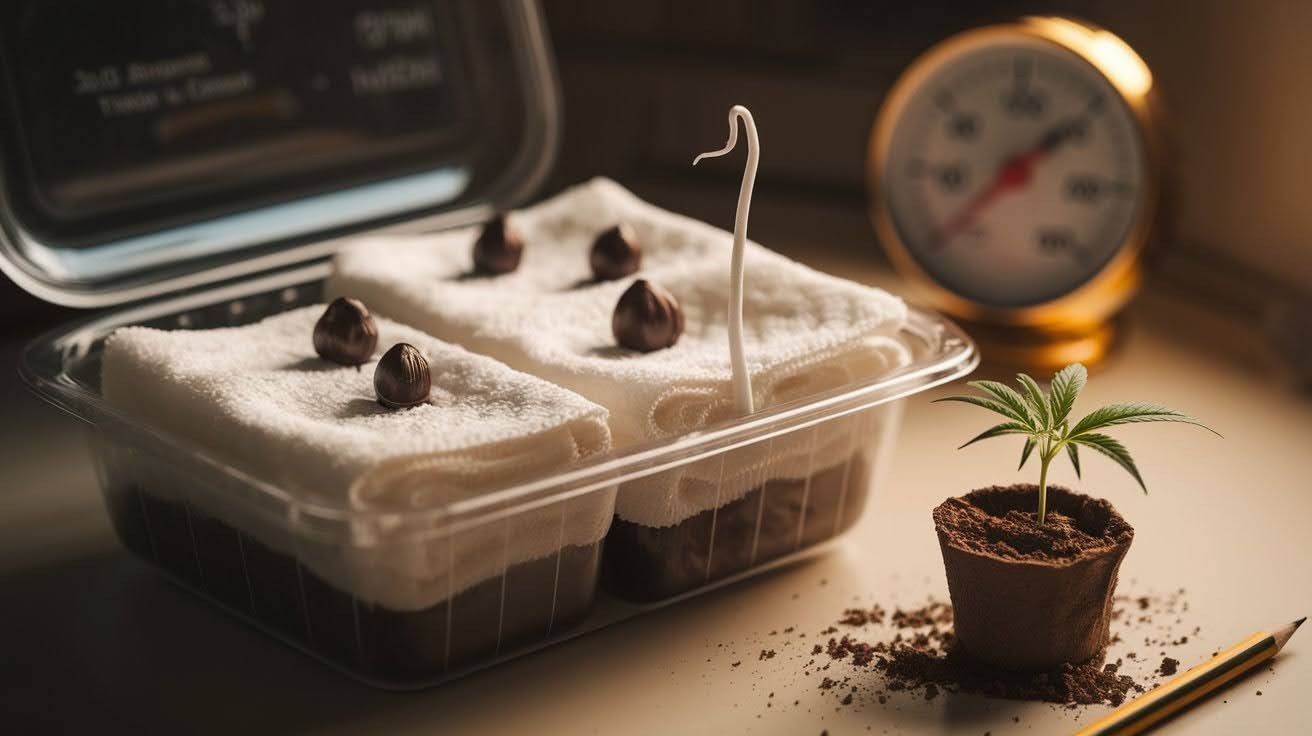
This is where the magic happens. Your seeds come to life in just a few days.
- Day 1: Place seeds between wet paper towels in a sealed container
- Day 1: Store in a dark, warm place between 70-85°F
- Days 2-7: Check daily and keep paper towels moist
When the taproot appears: Move to planting immediately – don’t wait. Here’s how to do it right:
- Create a small hole 1-2 cm deep in moist soil
- Place the seed with the taproot pointing down – this is crucial
- Cover lightly with soil – don’t pack it down
- Keep soil moist but not waterlogged – soggy soil kills seedlings
Be patient. Some seeds take up to a week to show their taproot. I check mine twice daily during this phase.
Step 5: Seedling Care (Weeks 1-3)
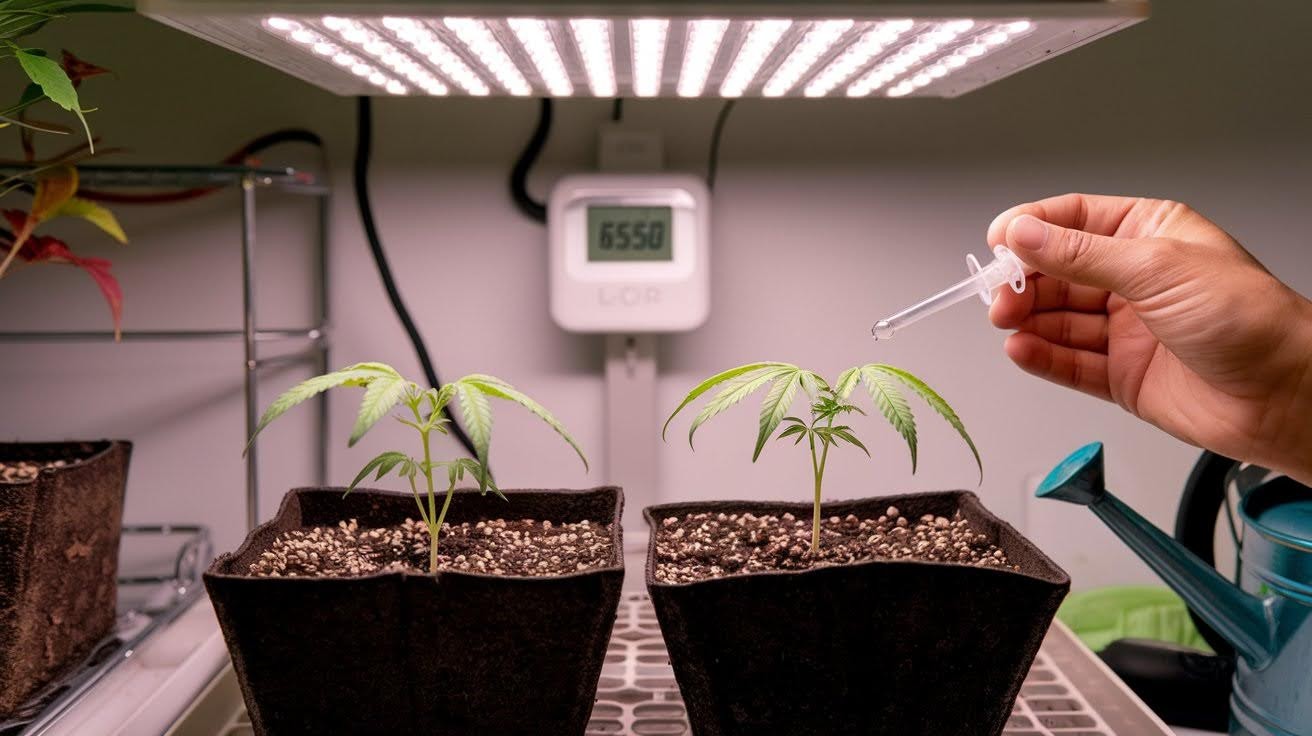
Your seedlings are fragile right now. Think of them like newborn babies – they need gentle care.
- Indoor growing: Set your timer for 18 hours of light, 6 hours of dark
- Outdoor growing: Start with indirect sunlight – direct sun can burn them
- Light distance: Keep lights 24-30 inches above seedlings
- Temperature: Maintain 65-80°F for best growth
Here’s the biggest mistake new growers make: they water too much. Water around the seedling, not directly on it, prevents stem rot.
Use small amounts that seedlings need very little water. Check frequency: Water when the top inch of soil feels dry
Your goal: Soil should be damp, never wet or bone dry. I killed my first seedlings by overwatering. Please don’t repeat my mistake.
Step 6: Vegetative Growth (Weeks 4-12)
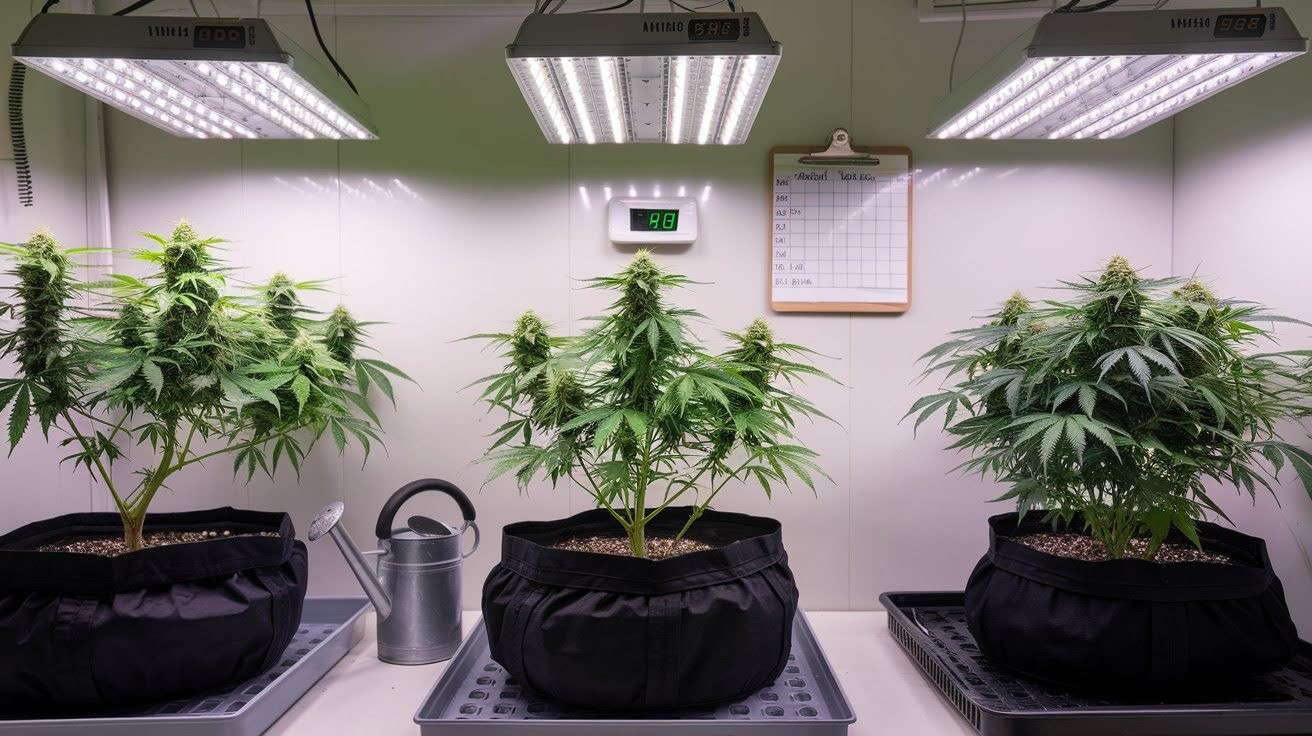
This is when your plants take off. They’ll grow fast and need more space. Move them when 3-4 sets of true leaves appear. Use 3-5 gallon containers with drainage holes.
Water before transplanting – this makes the process easier. Place at the same soil depth and water lightly after. Keep your light cycle at 18 hours on, 6 hours off.
Move lights to 18-24 inches above plants. Start quarter-strength vegetative nutrients at week 4. Full strength will burn young plants.
Water every 2-3 days or when the soil surface feels dry. Your plants are drinking more now. Watch them grow – this phase is exciting.
Step 7: Flowering Transition (Week 12-13)
Time to make your plants flower. This is when they start producing buds. For indoor growing: Change to 12 hours of light, 12 hours of dark with strict timing.
No light leaks during dark periods – even a small light will mess this up. For outdoor growing, wait for natural daylight reduction in late summer. Switch to flowering nutrients now.
In weeks 1-2 of flowering, look for pre-flowers at branch nodes. Female plants show white pistils – these hair-like structures mean buds are coming. Keep these plants.
Male plants develop small green sacs – remove them immediately to prevent pollination. Act fast – males can ruin your entire crop.
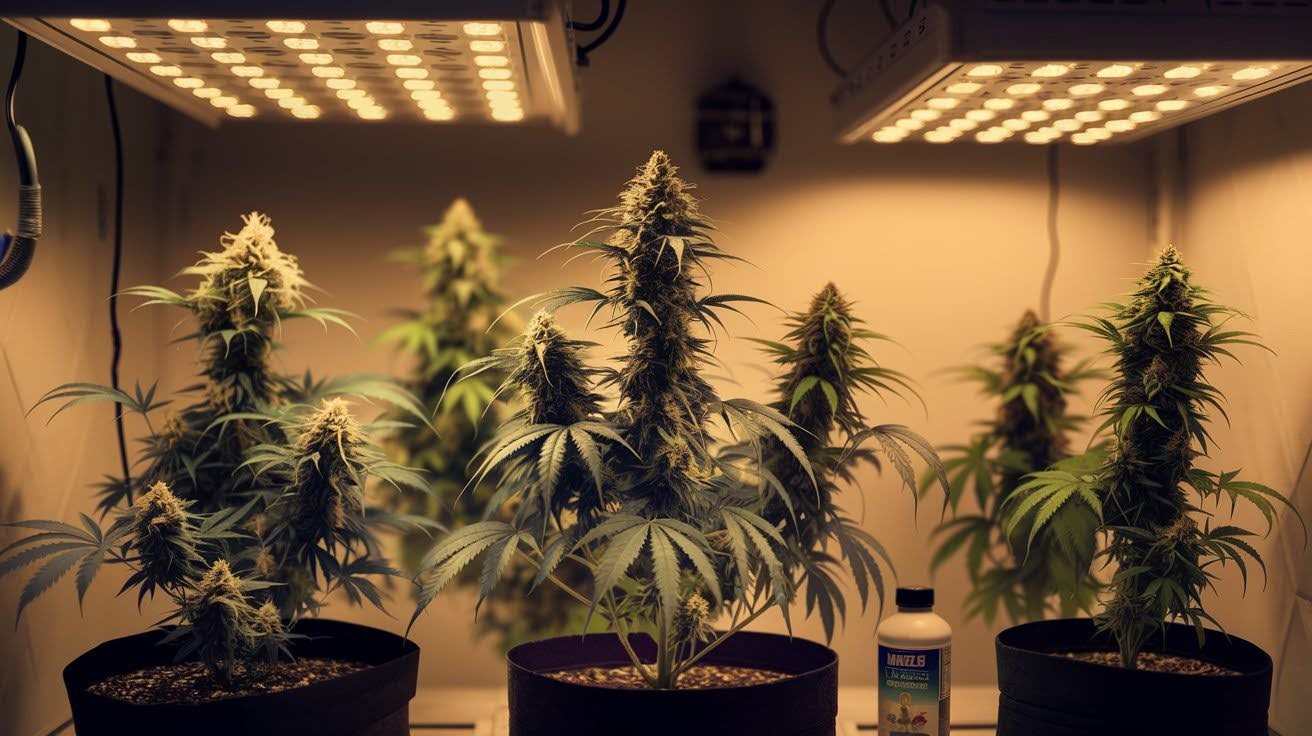
Step 8: Flowering Stage (Weeks 13-20)
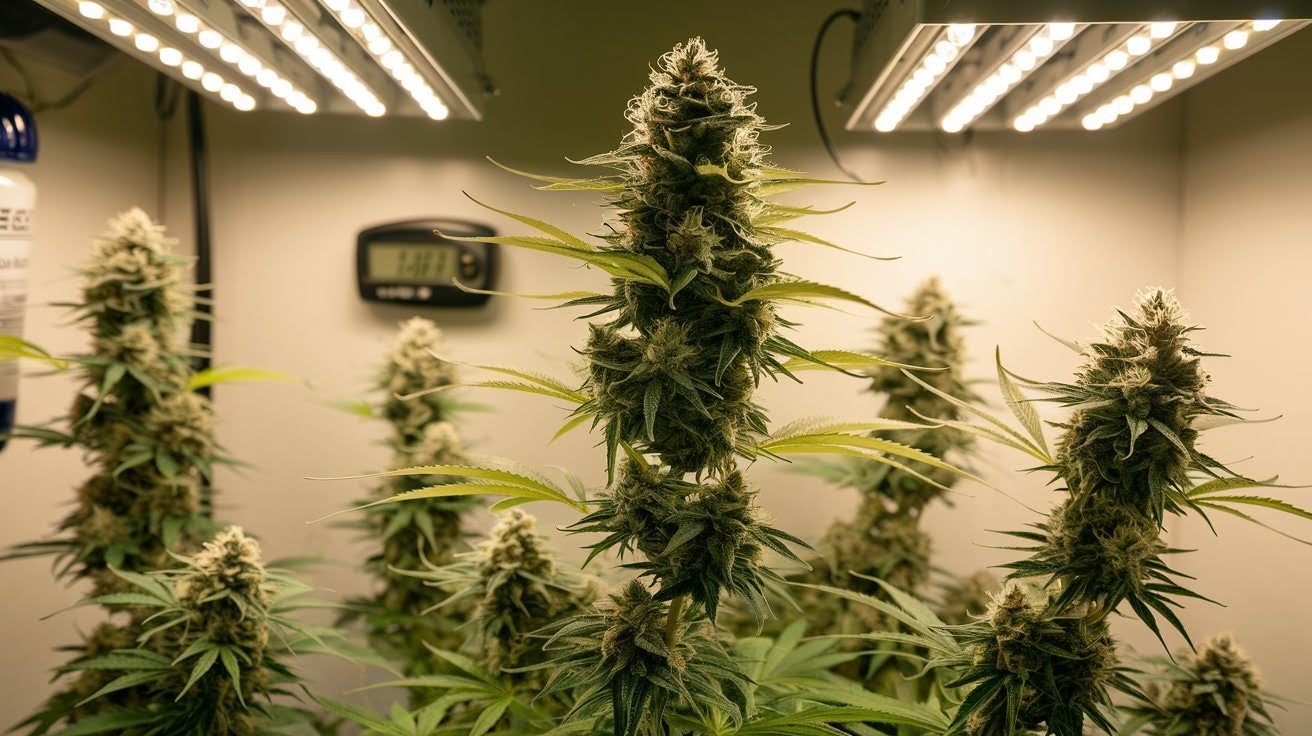
Your plants are now making buds. This is the payoff for all your hard work. Switch to flowering nutrients with higher phosphorus and potassium.
Move your lights closer to 12-18 inches from plants. Lower humidity to 40-50% – this prevents mold on your buds. Remove yellowing bottom leaves weekly to keep plants healthy.
- Weeks 1-2: Small flower sites appear at branch tips.
- Weeks 3-4: Flowers begin to swell and get sticky.
- Weeks 5-6: Trichomes become visible as tiny crystals.
- Weeks 7-8: Monitor for harvest readiness.
Be patient during this stage. I know it’s tempting to harvest early, but waiting gives you better quality buds. Check your plants daily now.
Step 9: Harvest Timing and Process (Weeks 18-22)
This is it – harvest time. Getting the timing right makes all the difference in quality. Watch for 70-80% of pistils changing from white to orange or brown.
Also, check that trichomes turn from clear to milky white. Final step before harvest: Stop nutrients and give only water for the final week. This helps flush out any chemical taste.
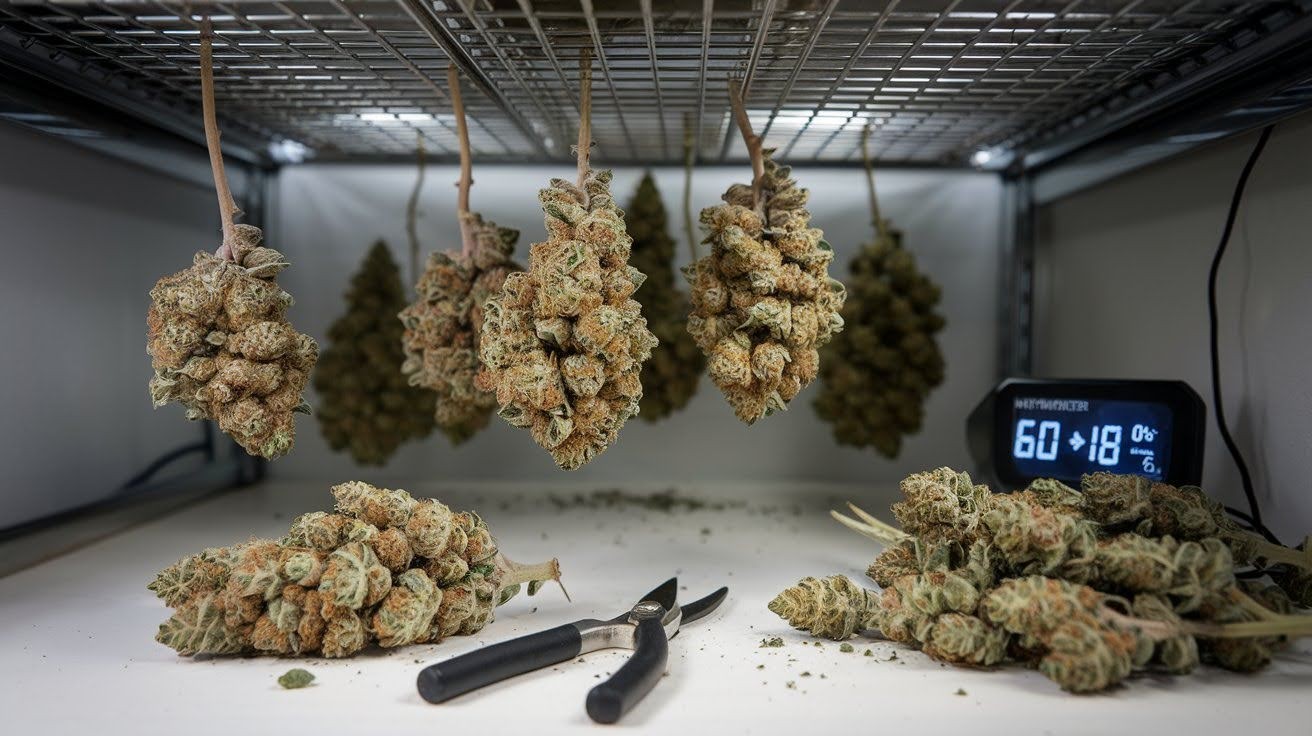
Cut your plant into manageable branches – don’t try to handle the whole plant at once. Remove large fan leaves immediately, but leave smaller sugar leaves for now.
Hang branches upside down in a dark, cool room at 60-70°F. Good airflow is crucial, but don’t blow air directly on the buds. Take your time – rushing this step ruins months of work.
Step 10: Drying and Basic Storage (Weeks 21-24)
Almost there. Proper drying and curing make good buds great. Check daily by bending stems – they should snap cleanly when ready. Maintain airflow but avoid direct air on buds or they’ll dry too fast.
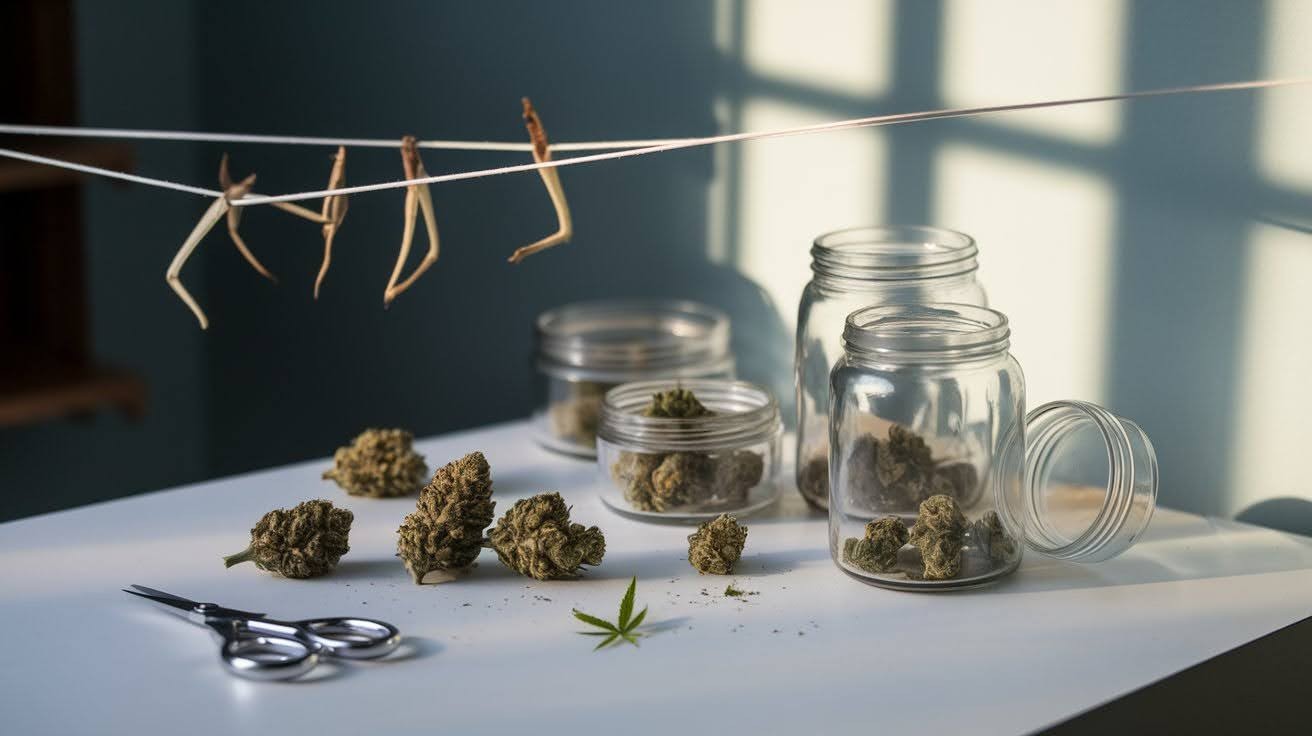
Most buds are ready in 7-14 days. Don’t rush this step. Trim remaining small leaves from dried buds, then place in airtight glass jars.
For the first week, open jars daily for 15 minutes, a process known as burping. Then, store them in a cool, dark place away from heat and light.
Give it 2-4 weeks for proper cure. I know waiting is hard, but cured buds taste much better than fresh ones.
Step 11: Enjoying Your First Harvest
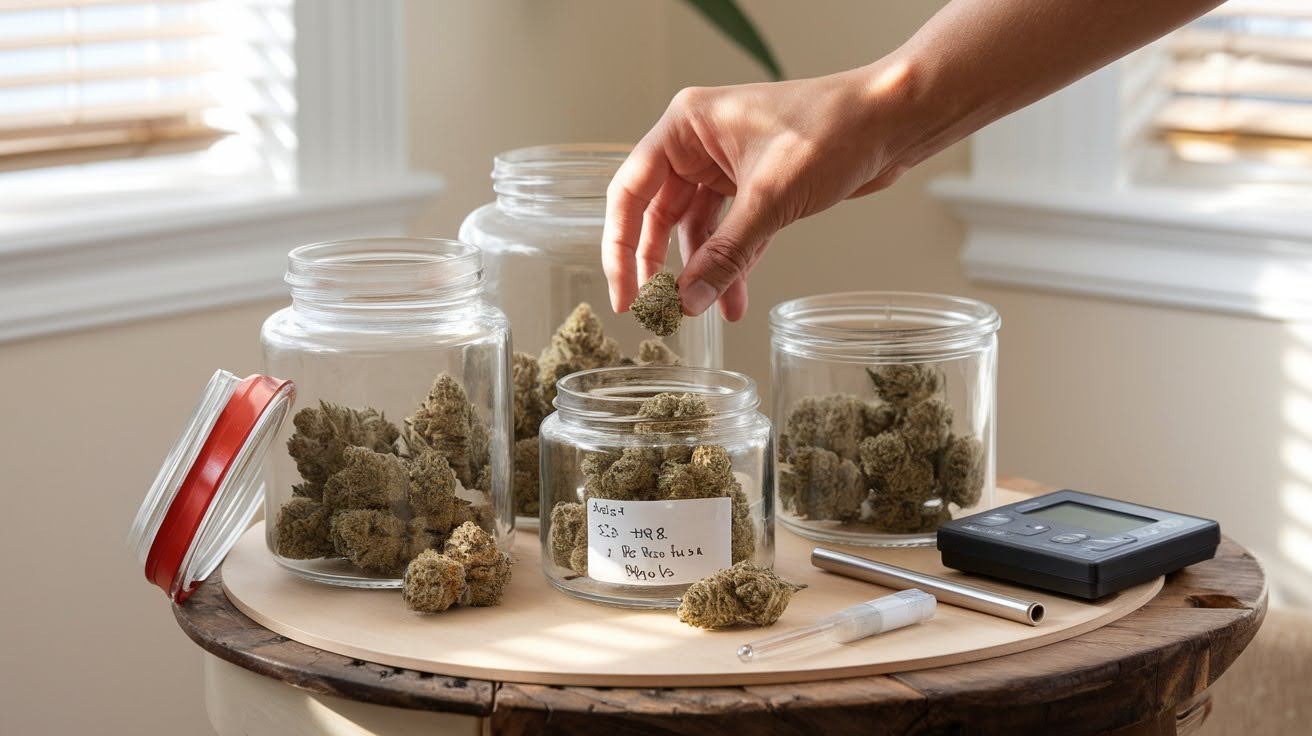
Congratulations. You’ve grown your cannabis from seed to harvest. Check that your buds are properly dried – not too dry, not too moist. They should have a pleasant, strong smell when you open the jar.
Label your jars with strain and harvest date. Trust me, you’ll forget which is which later. Start small when testing potency – homegrown can be stronger than expected.
Remember to consume only in legal locations as defined by your local laws. Keep everything secure and away from children and pets.
This is your responsibility as a grower. You did it. Enjoy the fruits of your labor responsibly.
Quick Problem-Solving Guide
Problems happen to every grower. Here’s how to fix the most common ones. Overwatering shows as wilted, yellow leaves – let the soil dry completely and water less often.
Underwatering causes droopy plants with dry soil – water thoroughly when the top inch feels dry. Nutrient burn creates brown leaf tips – flush with plain water and reduce feeding strength.
Slow growth usually means plants need more light or nutrients. Male plants must be removed immediately when you spot them. For persistent problems, visit local grow shops or online communities.
For legal questions: Check your state’s official cannabis website. For plant health issues, many online resources help with diagnosis. Don’t struggle alone – the growing community is helpful.
Conclusion
Growing cannabis at home isn’t as complicated as you thought, right? You now have a complete roadmap from seed to harvest.
Remember the key points: follow your local laws, start small, and be patient. Most problems have simple solutions, and the growing community is always ready to help.
Your first harvest might not be perfect, but it will be yours. Each growth teaches you something new. Ready to get started?
Grab your supplies and plant those first seeds. If you found this guide helpful, share it with other beginners who might need it.
Got questions about your specific situation? Drop a comment below – I read every one and help where I can. Happy growing up!
Frequently Asked Questions
Is growing cannabis at home legal?
It depends on your state. Most legal states allow 4-8 plants per household for adults 21+. Always check your local laws first.
How much does it cost to start growing cannabis?
Basic indoor setup costs $200-500. Outdoor growing is cheaper, requiring mainly containers, soil, and nutrients for under $100.
How long does it take to grow cannabis from seed?
Total time is 4-6 months from seed to harvest. This includes germination, vegetative growth, flowering, drying, and curing phases.
Do I need special equipment for growing cannabis indoors?
Yes, you’ll need LED grow lights, a timer, a ventilation fan, containers, soil, and nutrients. Start with basic equipment and upgrade later.
How much cannabis can I expect from my first harvest?
First-time growers typically get 1-3 ounces per plant. Results vary based on strain, growing conditions, and care quality.


