
Pruning isn’t just a buzzword it’s one of the most effective techniques I’ve used to boost cannabis yields at home. Over the last several years, I’ve experimented with topping, defoliation, and low-stress training across dozens of grows. Some methods worked wonders. Others set my plants back. This guide is built on real experiences, delivering results that work, not just theory.
You’ll get step-by-step instructions for each pruning method, including when and how to apply them depending on your plant’s stage. These techniques are backed by hands-on success and supported by horticultural principles that explain why they work.
I’m not a faceless blogger. My grow logs, forum contributions, and feedback from fellow cultivators have earned recognition on respected cultivation platforms. Everything you read here has been tested and refined. With the right pruning, your plants can reach their full potential, and I’ll show you exactly how.
The Science Behind Pruning for Higher Yields
Understanding how cannabis plants respond to strategic cutting reveals why proper pruning techniques consistently produce bigger, more potent harvests.
How Plants Respond to Strategic Cutting
When you cut branches, something interesting happens inside your plant. The cannabis plant redirects its energy to the remaining growth points. Think of it like this: your plant has a fixed amount of energy to spend. Without pruning, it spreads this energy across dozens of branches. Many produce small, weak buds.
But here’s the game-changer. After strategic cutting, the plant focuses its resources on fewer, stronger branches. These branches receive more nutrients and energy. The result?
Larger, denser buds where you want them most. Light also plays a crucial role. More light hits the remaining leaves, boosting photosynthesis. Better photosynthesis means more energy for bud production.
Light Penetration and Airflow Benefits
Dense canopies create serious problems. Lower branches live in shadows and produce tiny, fluffy buds that aren’t worth harvesting. Poor airflow in thick foliage invites trouble:
- Mold growth in humid conditions
- Pest infestations in stagnant air
- Weak stems from a lack of movement
Proper pruning solves these issues. Removing excess growth opens up your canopy. Fresh air moves freely through the plant. Light reaches previously shaded areas.
The remaining leaves work more efficiently. Better light exposure equals stronger photosynthesis. Stronger photosynthesis creates more energy for bigger, more potent buds.
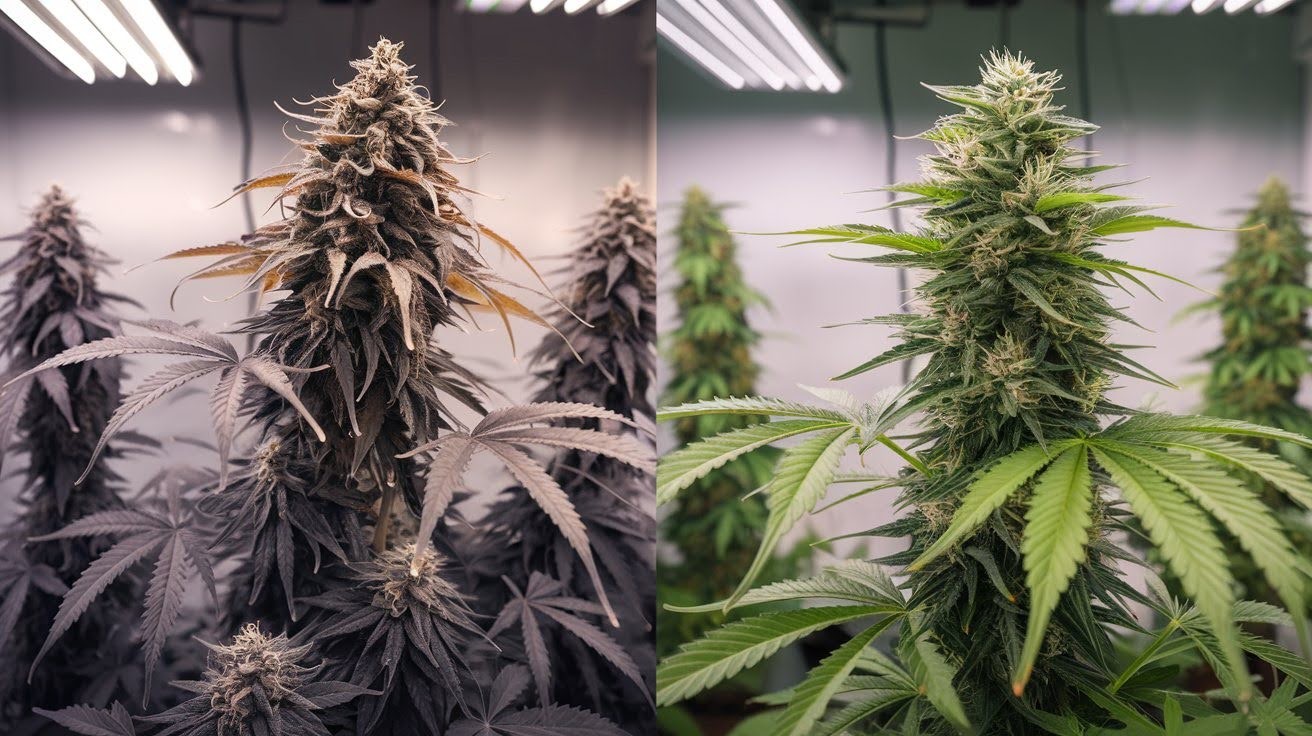
This isn’t just theory. Light-exposed buds consistently test higher in potency than their shaded counterparts.
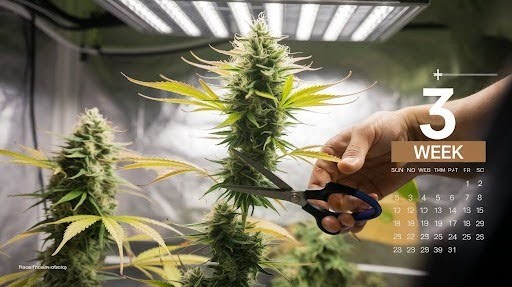
Optimal Timing for Pruning Cannabis Plants
Successful pruning depends entirely on timing cut at the wrong stage and you’ll damage yields instead of improving them.
Vegetative Stage: The Prime Window
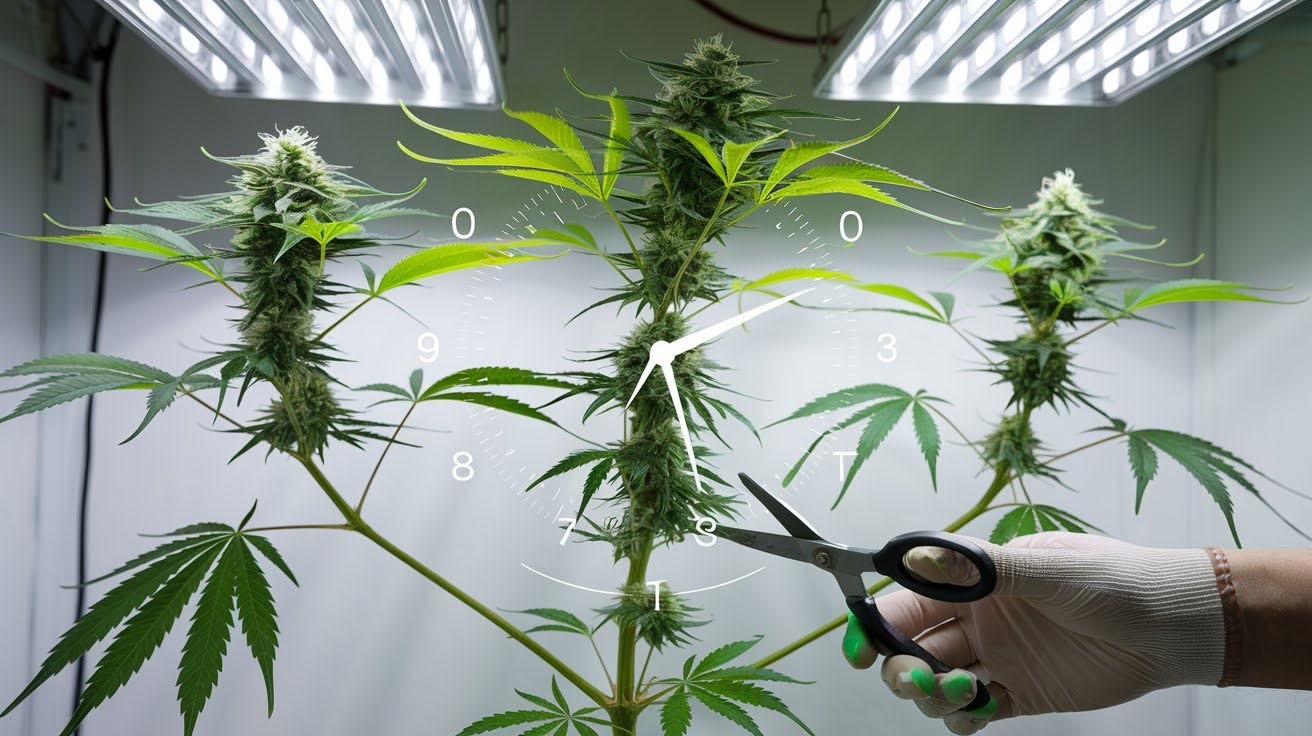
Timing matters more than technique. Your cannabis plant handles stress best during vegetative growth. Wait until you see 3-5 nodes before making any cuts. The plant needs this foundation to recover appropriately.
Here’s the sweet spot: 3-4 weeks into the vegetative stage is the ideal time for major pruning work. Why this timing works:
- Strong root system supports recovery
- Active growth repairs damage quickly
- No risk of flowering shock
Never prune stressed plants. Wait until they’re healthy and growing fast. Early pruning can trigger premature flowering. This ruins your entire crop. Stick to the vegetative window for all major cutting work.
Your plant will thank you with vigorous new growth.
Early Flowering Stage Considerations
Once flowering starts, your pruning window closes fast. Most cutting should happen before flowers appear. But there’s one exception: lollipopping at 3-4 weeks into flowering.
This technique removes lower branches that won’t produce quality buds. Timing is critical here. Too late, and you’ll hurt your final harvest. Warning: Late-stage pruning reduces yields. Stick to the schedule.
Signs Your Plants Are Ready for Pruning
Look for these clear indicators before making any cuts: Healthy growth signals:
- Thick, green leaves growing fast
- Strong stem development
- New growth appears daily
Problem areas needing attention:
- Dense canopy blocking lower branches
- Weak, thin branches are stealing energy
- Leaves touching or overlapping
Here’s the key question: Can light reach your lower branches? If not, it’s time to prune. Healthy plants bounce back quickly from strategic cutting. Weak or stressed plants need more time to recover first.
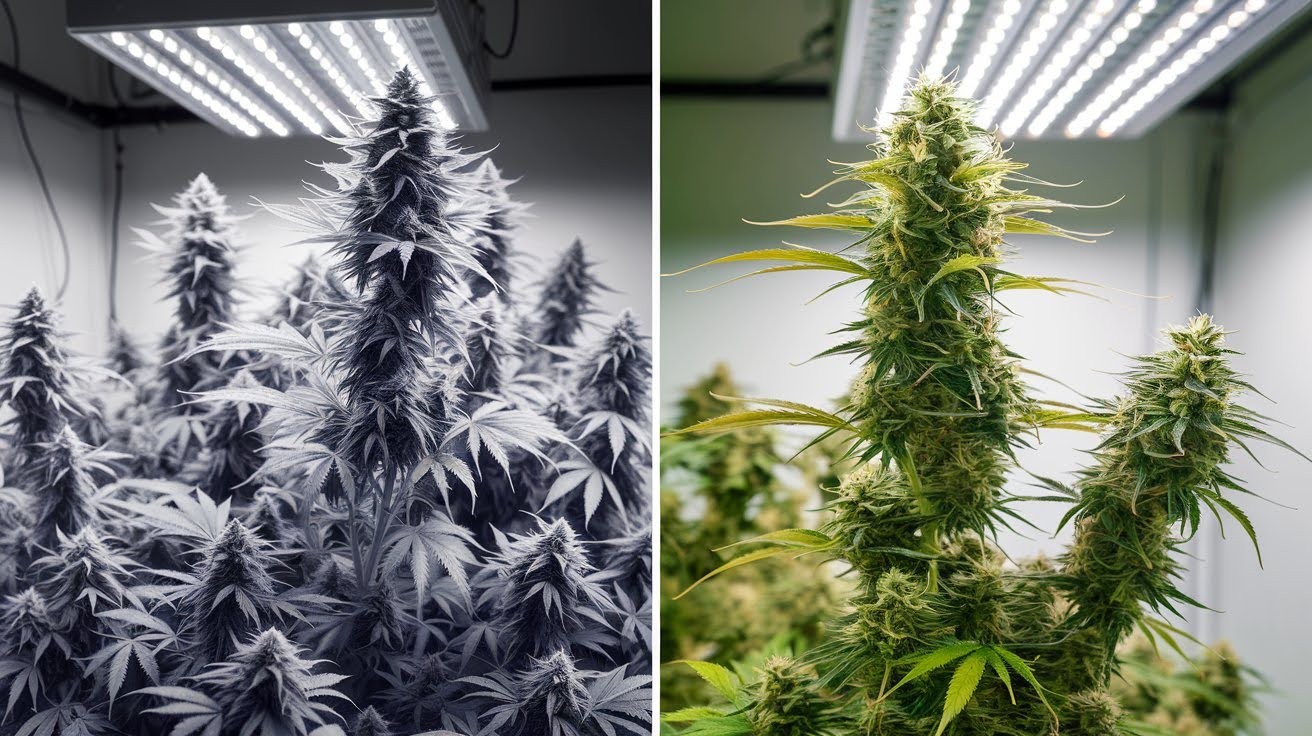
Essential Pruning Techniques for Maximum Yield
These proven cutting methods transform single-cola plants into multi-branched producers, dramatically increasing your final harvest through strategic growth manipulation.
Topping, Creating Multiple Main Colas
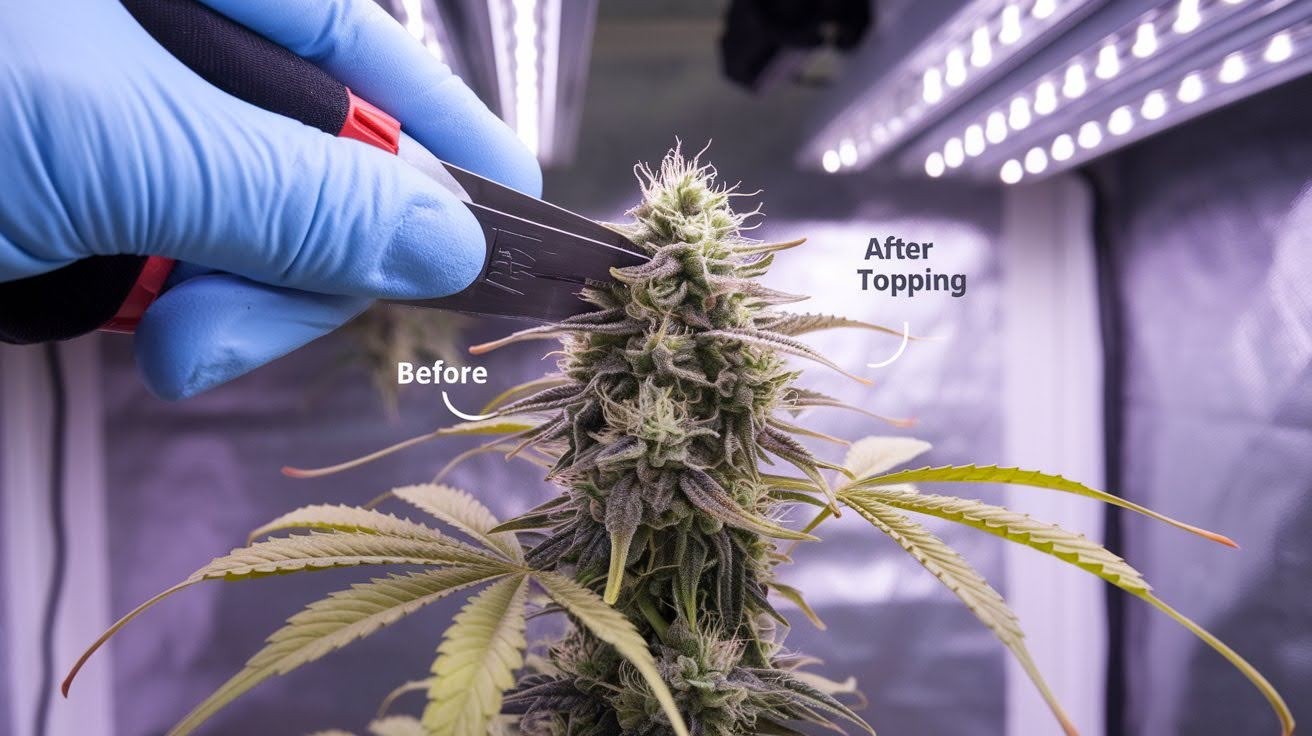
Topping changes everything about how your plant grows. Cut the main stem tip when your plant reaches 30cm in height. This simple cut creates two dominant branches instead of one.
Here’s what happens inside the plant: Growth hormones rush to the two new tips. Your plant now focuses energy on two main colas instead of one. This doubles your top bud sites immediately.
The technique works by removing apical dominance. One leader becomes two leaders. Both branches grow thick and strong. Perfect timing matters. Too early, and the plant lacks the strength to recover. Too late, and you lose valuable growing time.
FIMing (F*ck I Missed), Advanced Branching
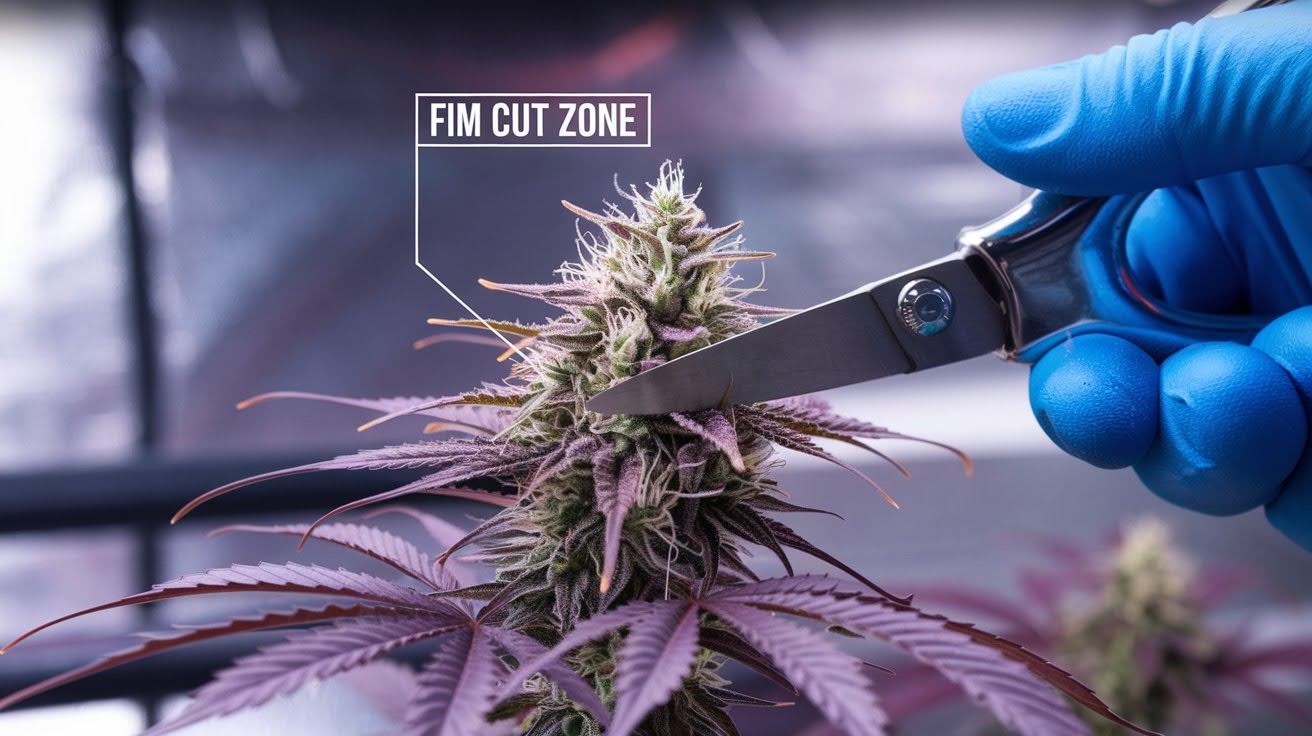
FIMing takes topping one step further. Instead of removing the entire tip, cut away 75% of the main stem. Leave a small portion behind. The magic happens next.
Four or more shoots emerge from this partial cut. Sometimes you get six or eight new branches. More branches mean more main colas. Why FIMing beats regular topping:
- Creates 4-8 branches vs. just 2
- Less stress on the plant
- Faster recovery time
- Higher total yield potential
The catch? FIMing requires more precision. Miss the sweet spot and you get weird growth patterns. Practice makes perfect with this technique.
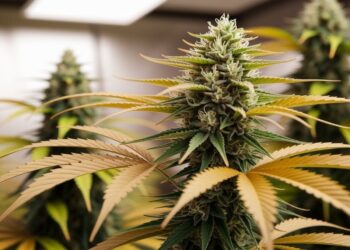
Lollipopping, Focusing Energy Upward

Lollipopping makes your plants look like lollipop sticks. Remove all lower branches and small growth during the early flowering stage. This forces your plant to focus energy on the top buds that get good light.
Think of it this way: Why waste energy on tiny buds that barely produce? Lower branches in shadows create popcorn buds, small, airy, and weak. Cut them off. Your plant redirects that energy to the upper canopy where it matters.
This technique works perfectly with Sea of Green growing. Multiple small plants with single main colas produce more per square foot. The results speak for themselves:
- Bigger top buds
- Better bud density
- Higher potency in remaining flowers
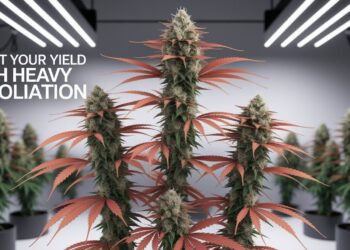
Lower Branch Removal, Strategic Elimination
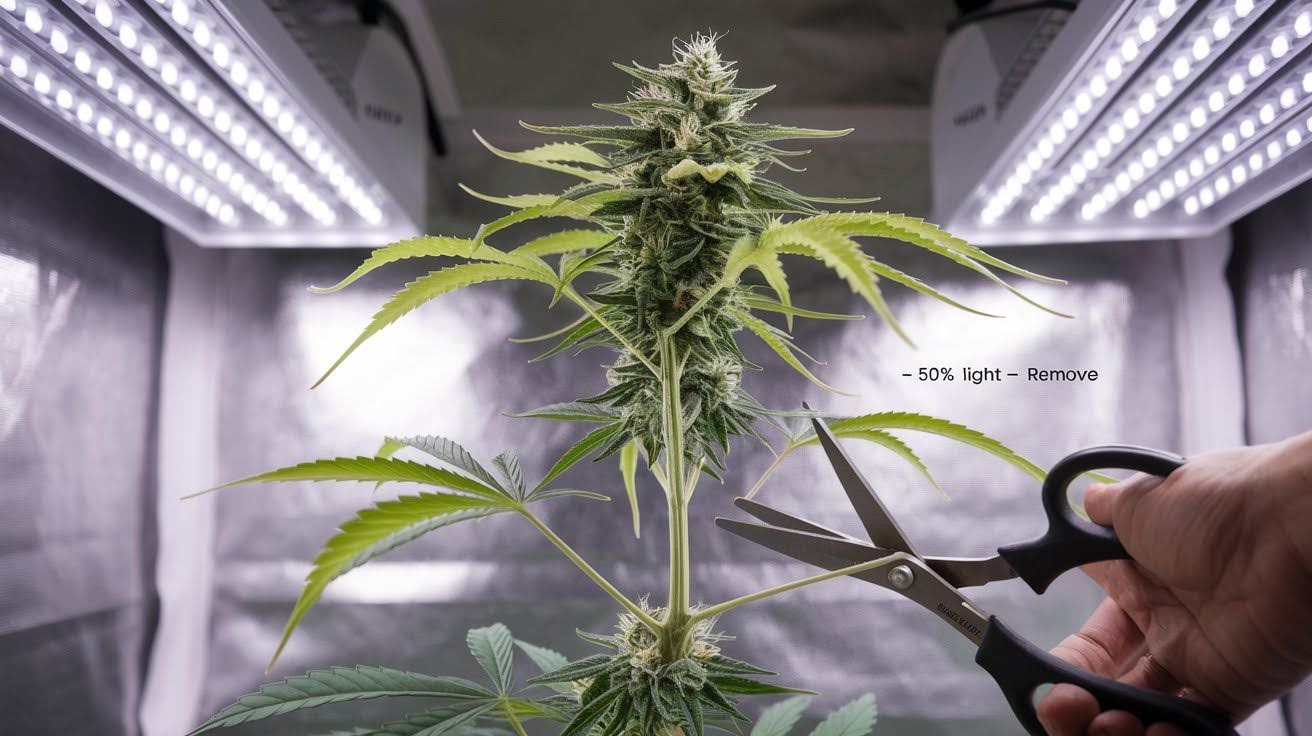
Not all branches deserve to stay. Look at your plant’s lowest growth. Those bottom two sets of branches rarely produce quality buds. They steal energy from productive areas.
Here’s your removal strategy: Remove branches that get less than 50% of available light. These weak spots drain resources without yielding much in return. Benefits you’ll see immediately:
- Better airflow through the canopy
- Energy flows to stronger branches
- Cleaner plant structure
Warning: Don’t go overboard. Remove too much and you stress the plant. Stick to the lowest, weakest growth only. Moderation keeps your plants healthy while improving yields.
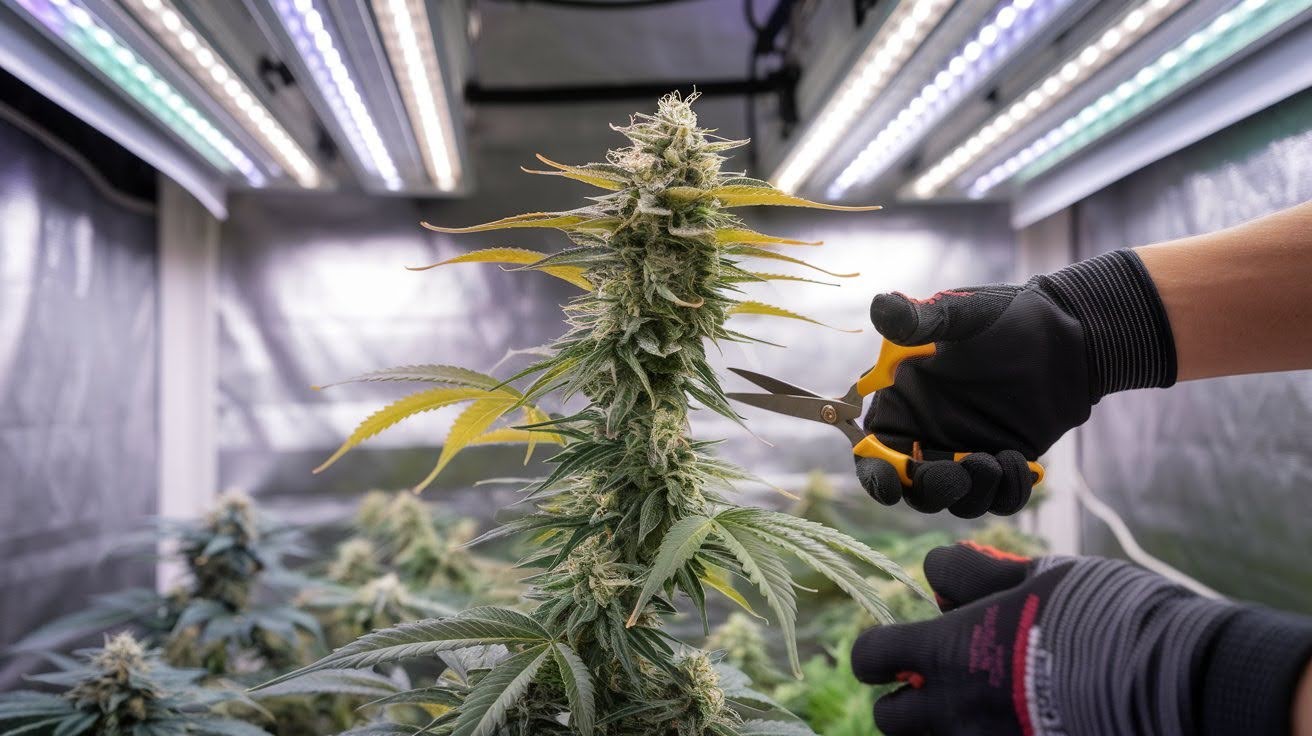
Tools and Proper Cutting Techniques
Clean cuts heal faster and prevent infections the right tools and cutting methods make the difference between success and disaster.
Essential Equipment and Sterilization

Good tools make all the difference. You need sharp, clean pruning shears for main branches. Felco and Fiskars make reliable options that last for years. Dull blades crush stems instead of cutting cleanly.
Fine scissors handle delicate work. Use them for leaf removal and small growth. Your regular pruning shears are too big for precision cuts. Clean tools prevent disaster.
Dirty blades spread diseases between plants. One infected cut can kill your entire crop.
Simple sterilization methods:
- Rubbing alcohol on blade surfaces
- Bleach solution (10% bleach, 90% water)
- Clean between every plant
Never skip this step. Spending 30 seconds cleaning saves weeks of lost growth.
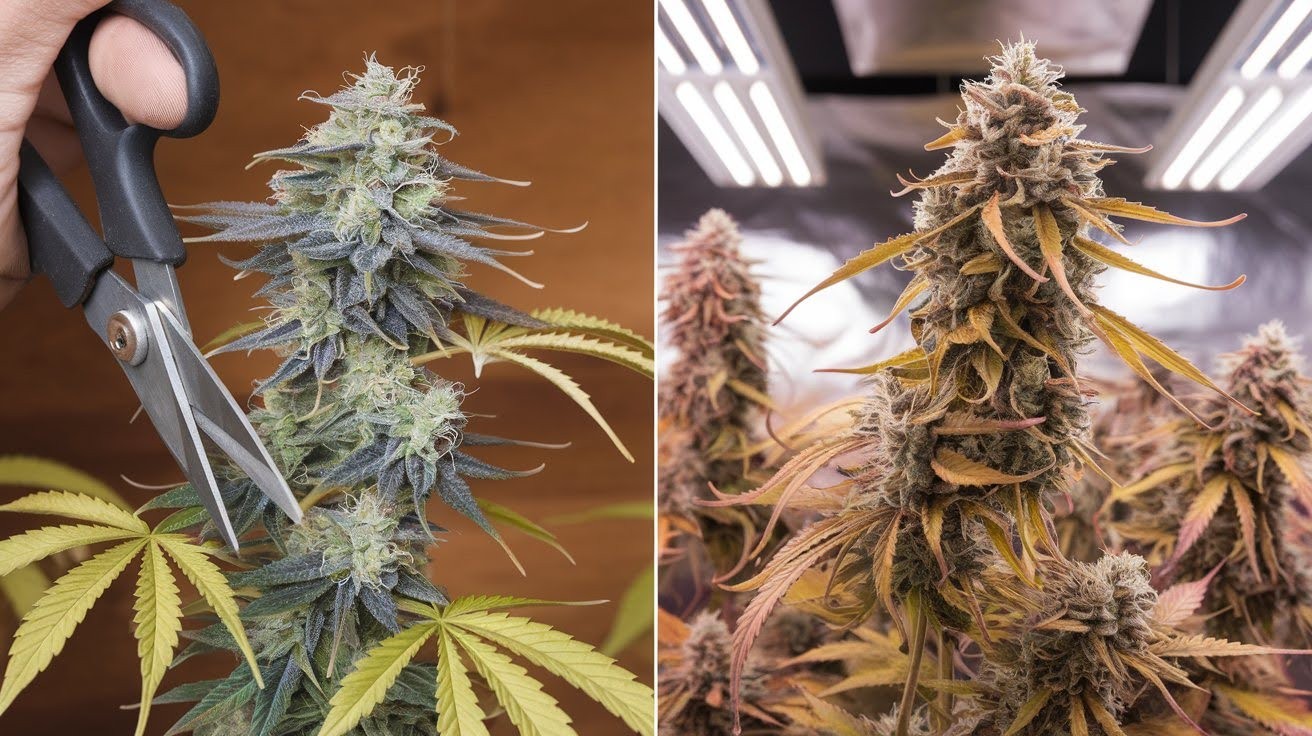
Cutting Techniques and Best Practices
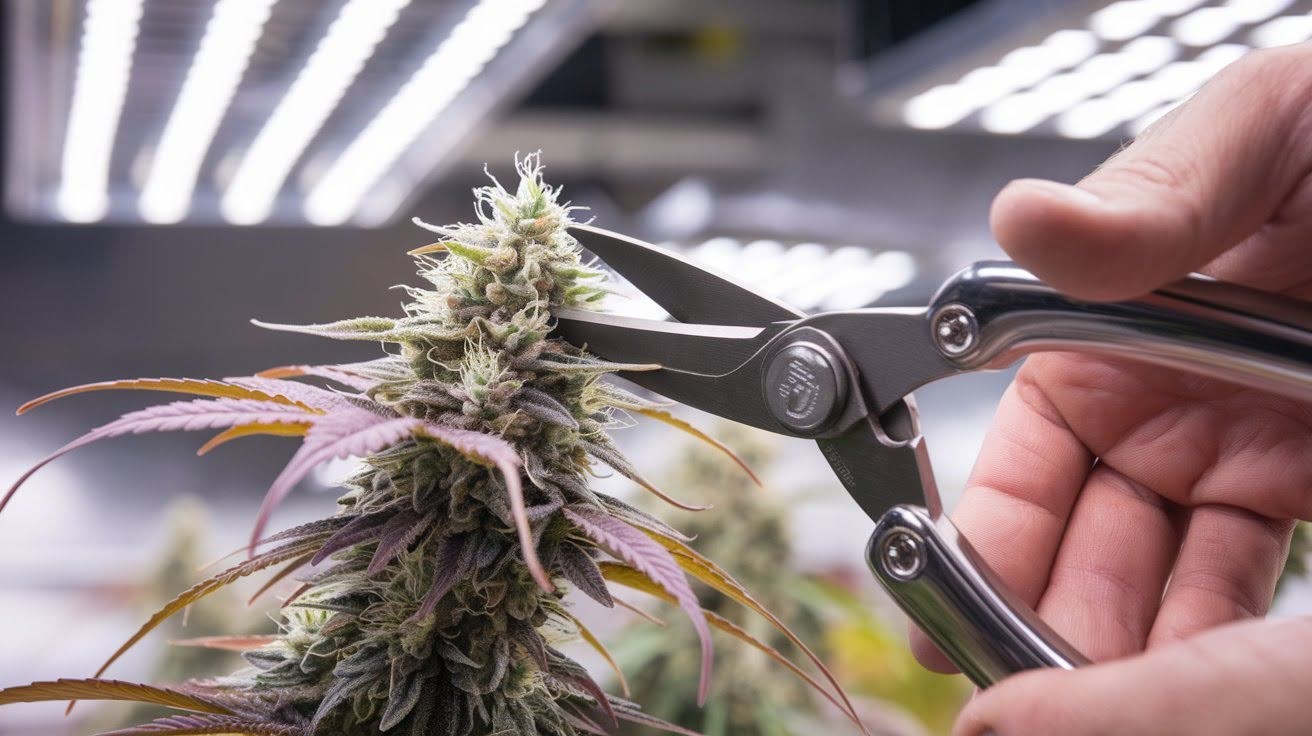
How you cut matters as much as what you cut. Make clean, quick cuts at 45-degree angles. This promotes faster healing and prevents water from pooling on cut surfaces. Cut placement rules:
- Always cut above a node or leaf junction
- Leave small stem sections to prevent die-back
- Never cut flush against main stems
Avoid these common mistakes:
- Crushing stems with dull blades
- Tearing tissue by pulling instead of cutting
- Leaving jagged edges that invite infection
One smooth motion works best. Hesitation creates rough cuts that heal slowly. Your plants recover faster from clean, confident cuts.
Post-Pruning Care for Optimal Recovery
Your plants need special attention after cutting proper aftercare determines whether pruning boosts yields or sets back growth.
Immediate Aftercare Requirements
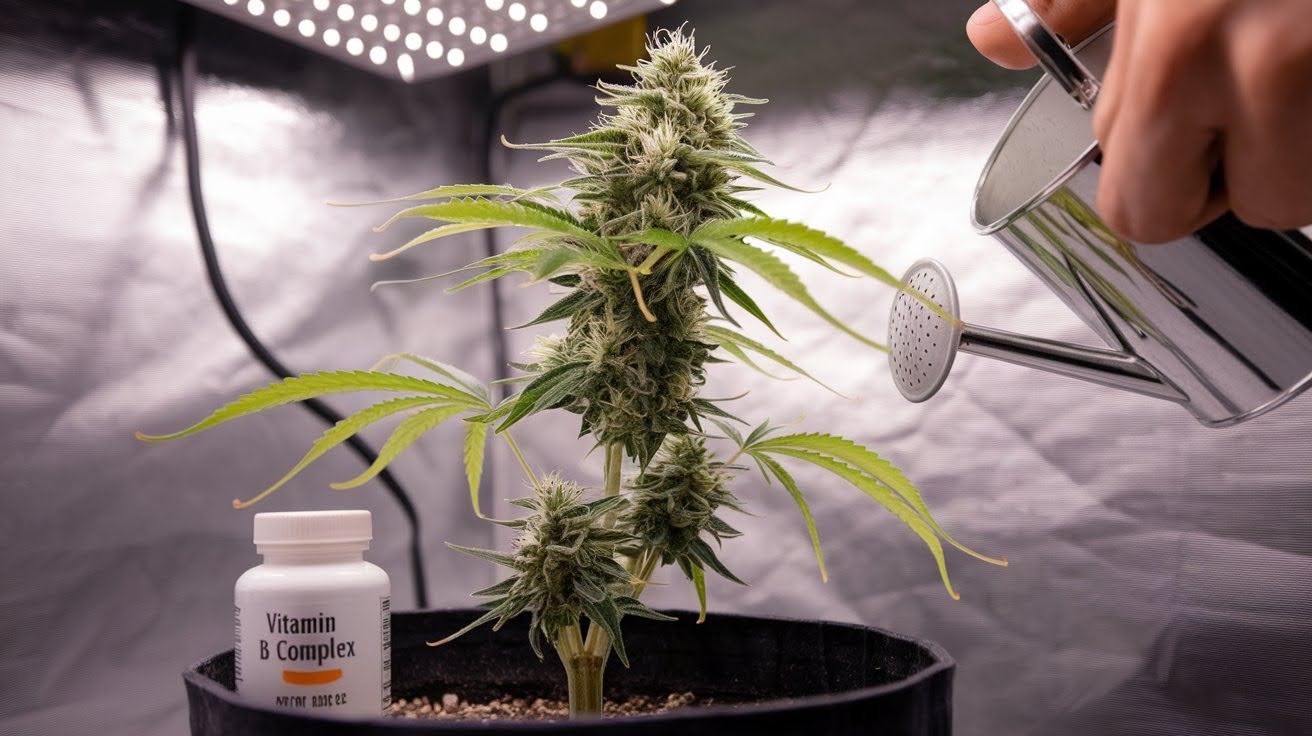
Your plants need extra attention after pruning. Water lightly for the first 24 hours. Stressed plants can’t handle heavy watering. Too much water causes root problems when plants are already recovering.
Vitamin B complex works like medicine for pruned plants. Apply it within hours of cutting. This supplement helps reduce stress and accelerate healing time. Here’s what to expect:
Most plants recover within 7 to 10 days. You’ll see new growth emerging from cut sites. Leaves perk up and stems thicken again.
Don’t panic if growth slows initially. This is normal. Your plant is redirecting energy to heal wounds first.
Nutritional Support During Recovery
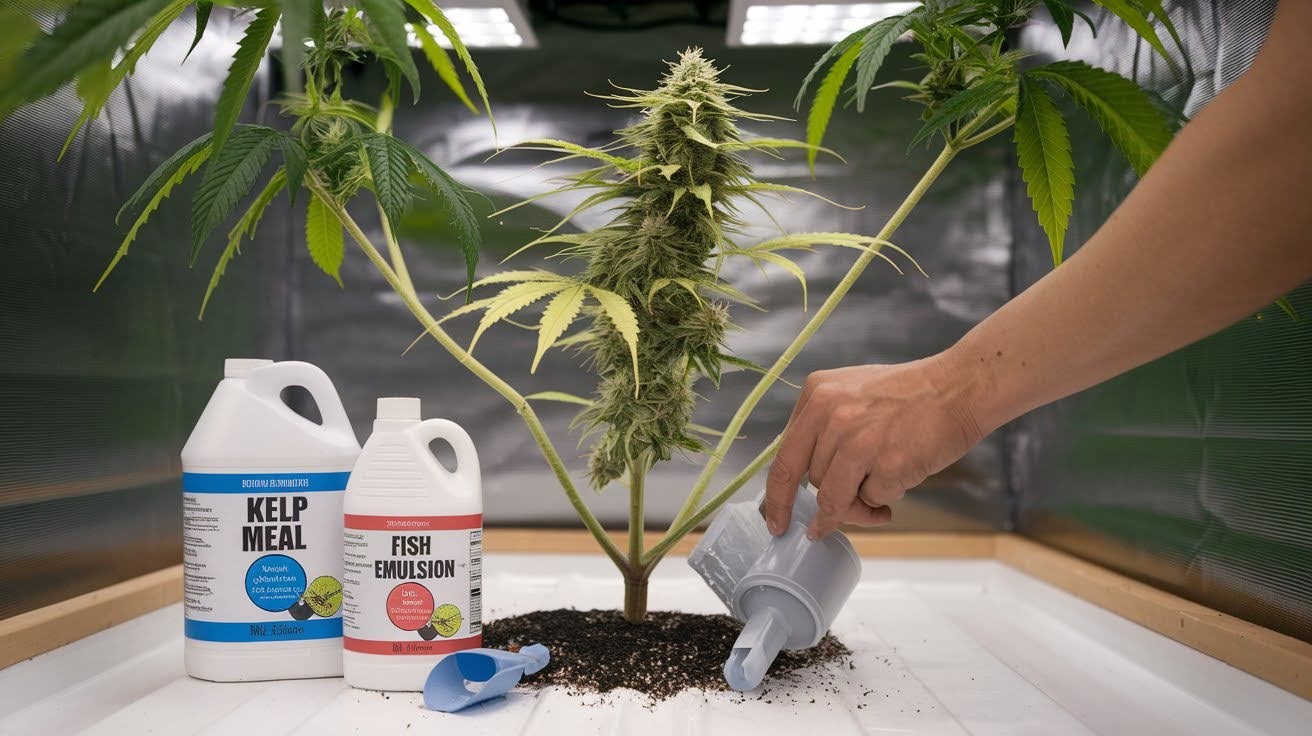
Recovery requires the right fuel. Use balanced NPK ratios during the vegetative recovery stage. Equal parts nitrogen, phosphorus, and potassium help plants rebuild quickly.
Flowering stage pruning needs different nutrition. Boost phosphorus levels after flowering-stage cuts. This mineral supports both healing and bud development. Organic options work best:
- Kelp meal provides natural growth hormones
- Sea-based fertilizers offer trace minerals
- Fish emulsion feeds beneficial soil bacteria
These organic sources heal plants gently. Chemical fertilizers can burn stressed tissue. Natural nutrition supports recovery without shock. Feed lightly until you see strong new growth. Less is more during recovery periods.
Common Mistakes and How to Avoid Them
These frequent pruning errors can destroy your harvest, learn what goes wrong and how to avoid costly mistakes that hurt yields.
Over-Pruning Dangers
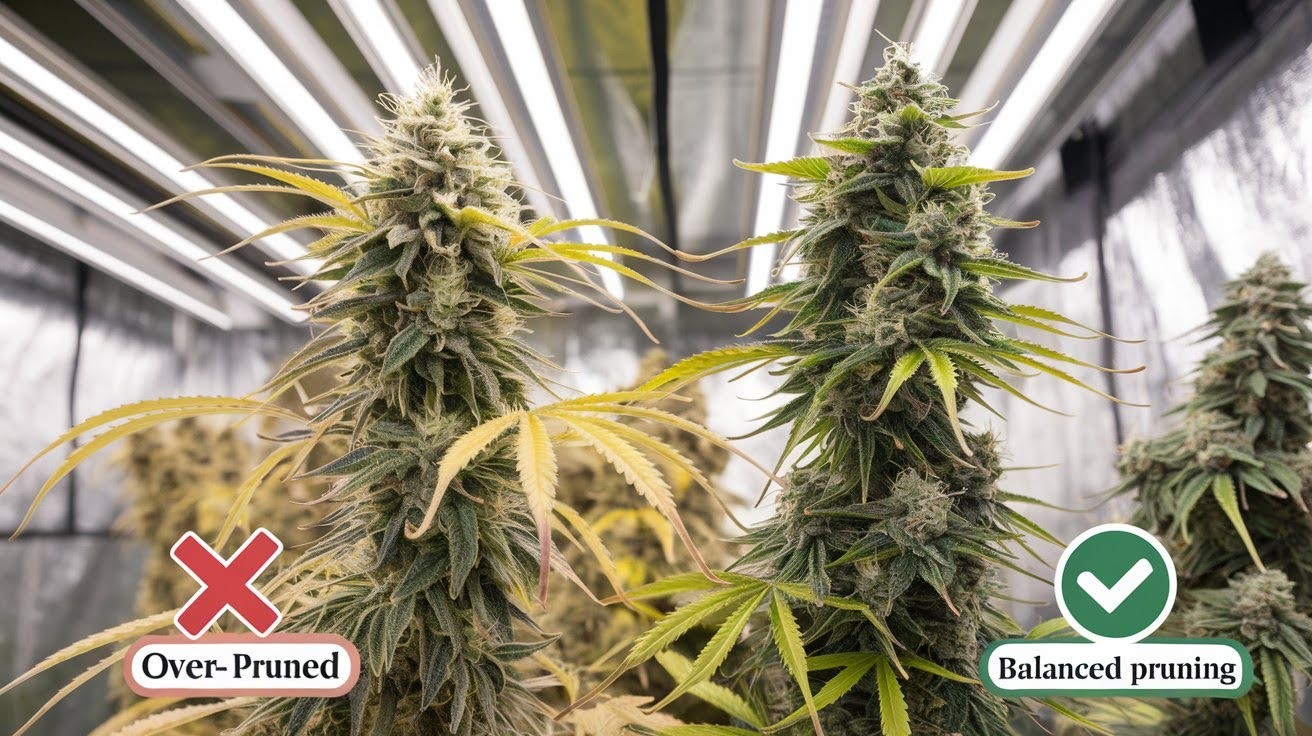
More cutting doesn’t mean bigger yields. Remove too much and your plant goes into shock. Leaves make energy through photosynthesis. Cut away too many leaves and your plant starves.
Warning signs of over-pruning:
- Slow growth for weeks after cutting
- Yellow leaves are appearing rapidly
- Weak, thin new branches
Follow the 30% rule. Never remove more than one-third of your plant at once. This keeps enough leaf surface for energy production. Balance is everything. You want to optimize growth without damaging plant health.
Timing and Technique Errors
Bad timing ruins good intentions. Pruning during late flowering can dramatically reduce your final yield. The plant can’t recover when it’s focused on bud production.
Premature cutting causes problems, too. Wait until the plants have developed at least 3-5 nodes. Young plants lack the strength to handle stress. Tool mistakes hurt plants:
- Dull blades crush stems instead of cutting cleanly
- Wrong cutting angles create infection entry points
- Dirty tools spread diseases between plants
Check plant health first. Never prune plants that are sick, stressed, or struggling. Weak plants need recovery time, not additional stress from cutting. Wait for strong, healthy growth before making any cuts.
Conclusion
Pruning to increase yield isn’t complicated once you know the basics. You now know how to transform your cannabis plants from average producers into heavy-yielding powerhouses. Remember the key points: time your cuts during vegetative growth, use clean tools, and focus on removing growth that steals energy from productive areas. Your plants will reward you with bigger, denser buds when you use proper technique.
Start small with your first attempts. Practice builds confidence and prevents costly mistakes. Each growing cycle teaches you more about how your plants respond to different techniques.
Ready to put these methods to work? Try one technique at a time and track your results. Your future harvests will thank you for the effort you put in today.
Share your pruning experiences in the comments below. We’d love to hear about your successes!
Frequently Asked Questions
When is the best time to start pruning to increase yield?
Begin pruning after your plants develop 3-5 nodes, typically 3-4 weeks into the vegetative stage. This timing allows plants to recover quickly while maximizing growth potential.
How much of my plant can I safely remove during pruning?
Never remove more than 30% of your plant at once. This maintains enough leaf surface for photosynthesis while allowing the plant to redirect energy effectively.
Will pruning increase the yield during the flowering stage?
Limited pruning is possible early in flowering (weeks 1-4), but avoid significant cuts. Focus on lollipopping techniques to remove lower, non-productive growth only.
What tools do I need for proper cannabis pruning?
Sharp, clean pruning shears for main branches and fine scissors for delicate work. Always sterilize tools between plants to prevent the transmission of diseases.
How long does recovery take after pruning cannabis plants?
Most healthy plants recover within 7 to 10 days. You’ll see new growth emerging from cut sites and improved vigor throughout the plant structure.


